This is a subsection of the larger modification section I was doing with the intake manifold, phenolic spacer and throttle body. I broke it out separately in order to highlight some of the things I learned along the way.
For the write-up on removal and installation of the intake manifold, check this out.
XDI has some awesome products and really does a lot to support our platform. Uwe over there is a great resource and can be extremely helpful even if you have a custom build. He sent me an early version of his SHO injectors, so these are technically his Gen1 version and have a +30% capability, but his latest SHO injectors are true +50%. Check them out at Xtreme DI.
Here’s a short intro video on the upcoming tasks:
I took my time on this install as I wanted to make sure I got everything right and not forget any steps. I’m sure in the video set, some of you may find some things I could’ve done better. Let me know, as I’m always open for criticism.
Might be able to solve the issue using other methods, but figured I’d just get the right tool for the job. It’s way too expensive for what it is though, tbh. Not to mention, the bristles definitely have a lifespan, so if this was something you had to do often, you’d be having to purchase another tool over time. Anyway, it worked well and gave me peace-of-mind so that’s worth something, right?
If you find some injectors sticking into the rail itself, I used this to tool (Craftsman Lock Ring Pliers #47386) to pop it out easily:
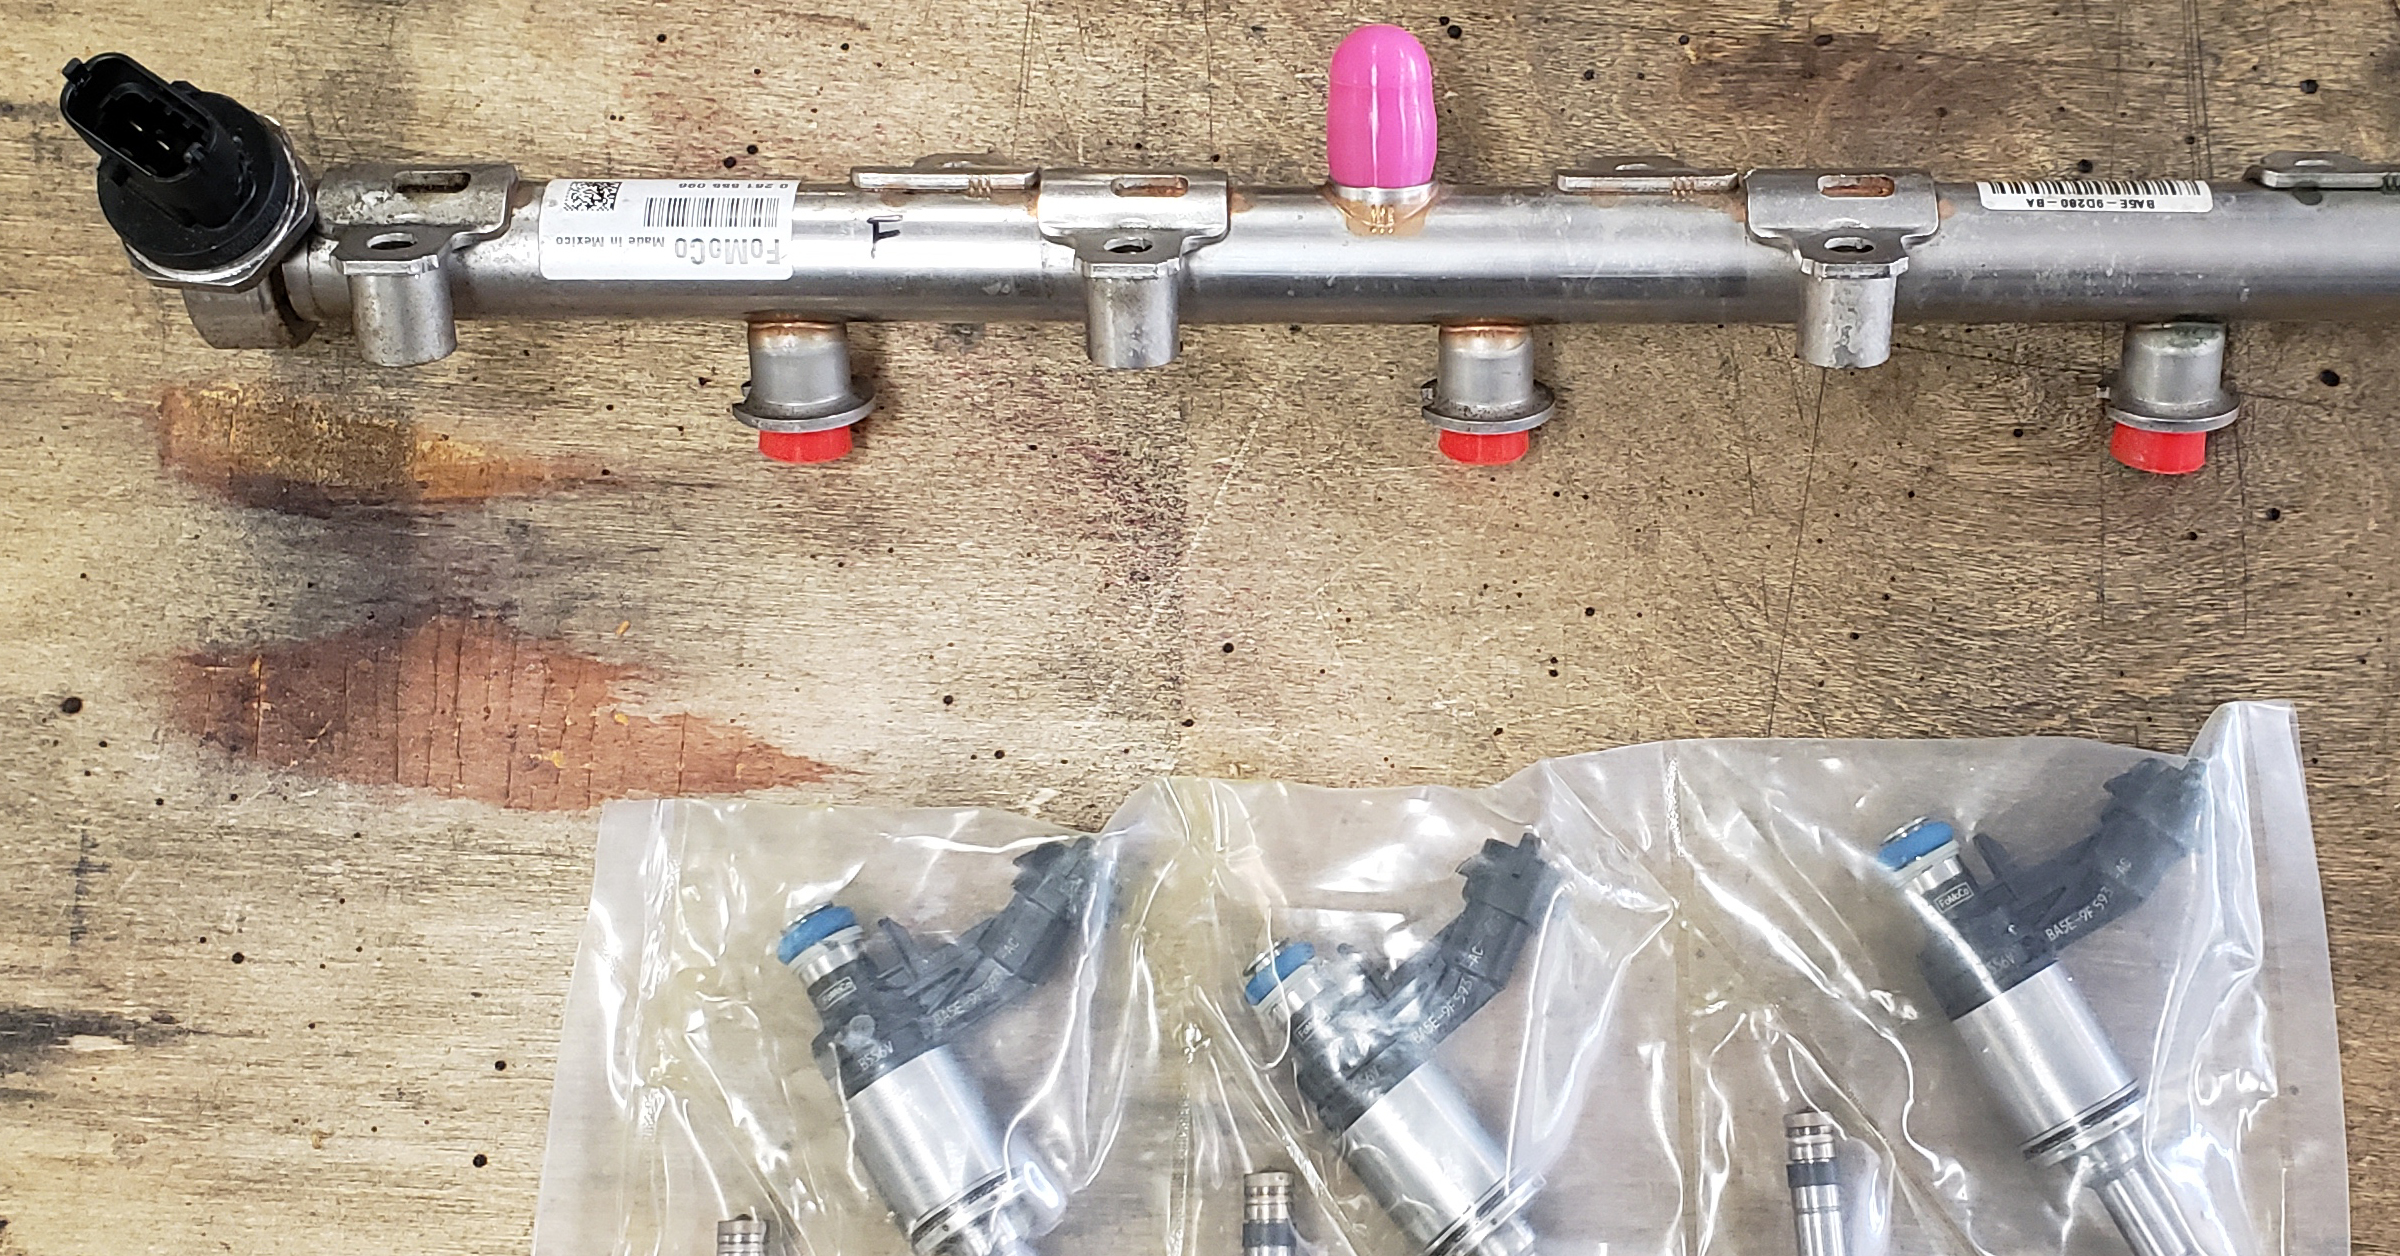
Used the caps and plugs Uwe provided with the new injectors for storing the old ones:
Since it was off the engine, trimmed that hook bracket off the new HP fuel line. Just give you a bit more room to adjust it as it’s not used anyway.
Also shaved down the head of that bolt it normally connects to.
NOTE: I’ve since replaced this shaved down bolt with an OEM Ford part. It’s cheap and easy enough to install if you happen to ever have the valve cover off.
Now, continuing on with the installation videos:
After this, just gotta proceed with installation of the rest…phenolic spacer and intake manifold (covered in a different thread). Although I’ve heard you can at least start the vehicle up and maybe idle it, I wasn’t going to risk it. Luckily it’s not a daily driver for me, so it wasn’t a big deal to wait for Brad at AJP to get me an updated tune.
Got the new preliminary tune in, did a full coolant flush and took it out for a small romp around town and man, this thing is beastly. I am doing datalogging with Brad currently so we’ll see when this iteration is finalized, but I’m impressed so far.
Thanks Uwe!!!