Originally posted within this post, but felt it was worthy of it’s own.
Before I had these shipped off, I had developed an issue with a striped bolt hole on the rear turbo, which occurred during one of my long nights of assembly/disassembly. I was tightening down the downpipes and torqued it too much. Luckily it never leaked, but after disassembling them to be shipped off, there’s no way it would ever seal up again.
So how do I fix it?
The repair…
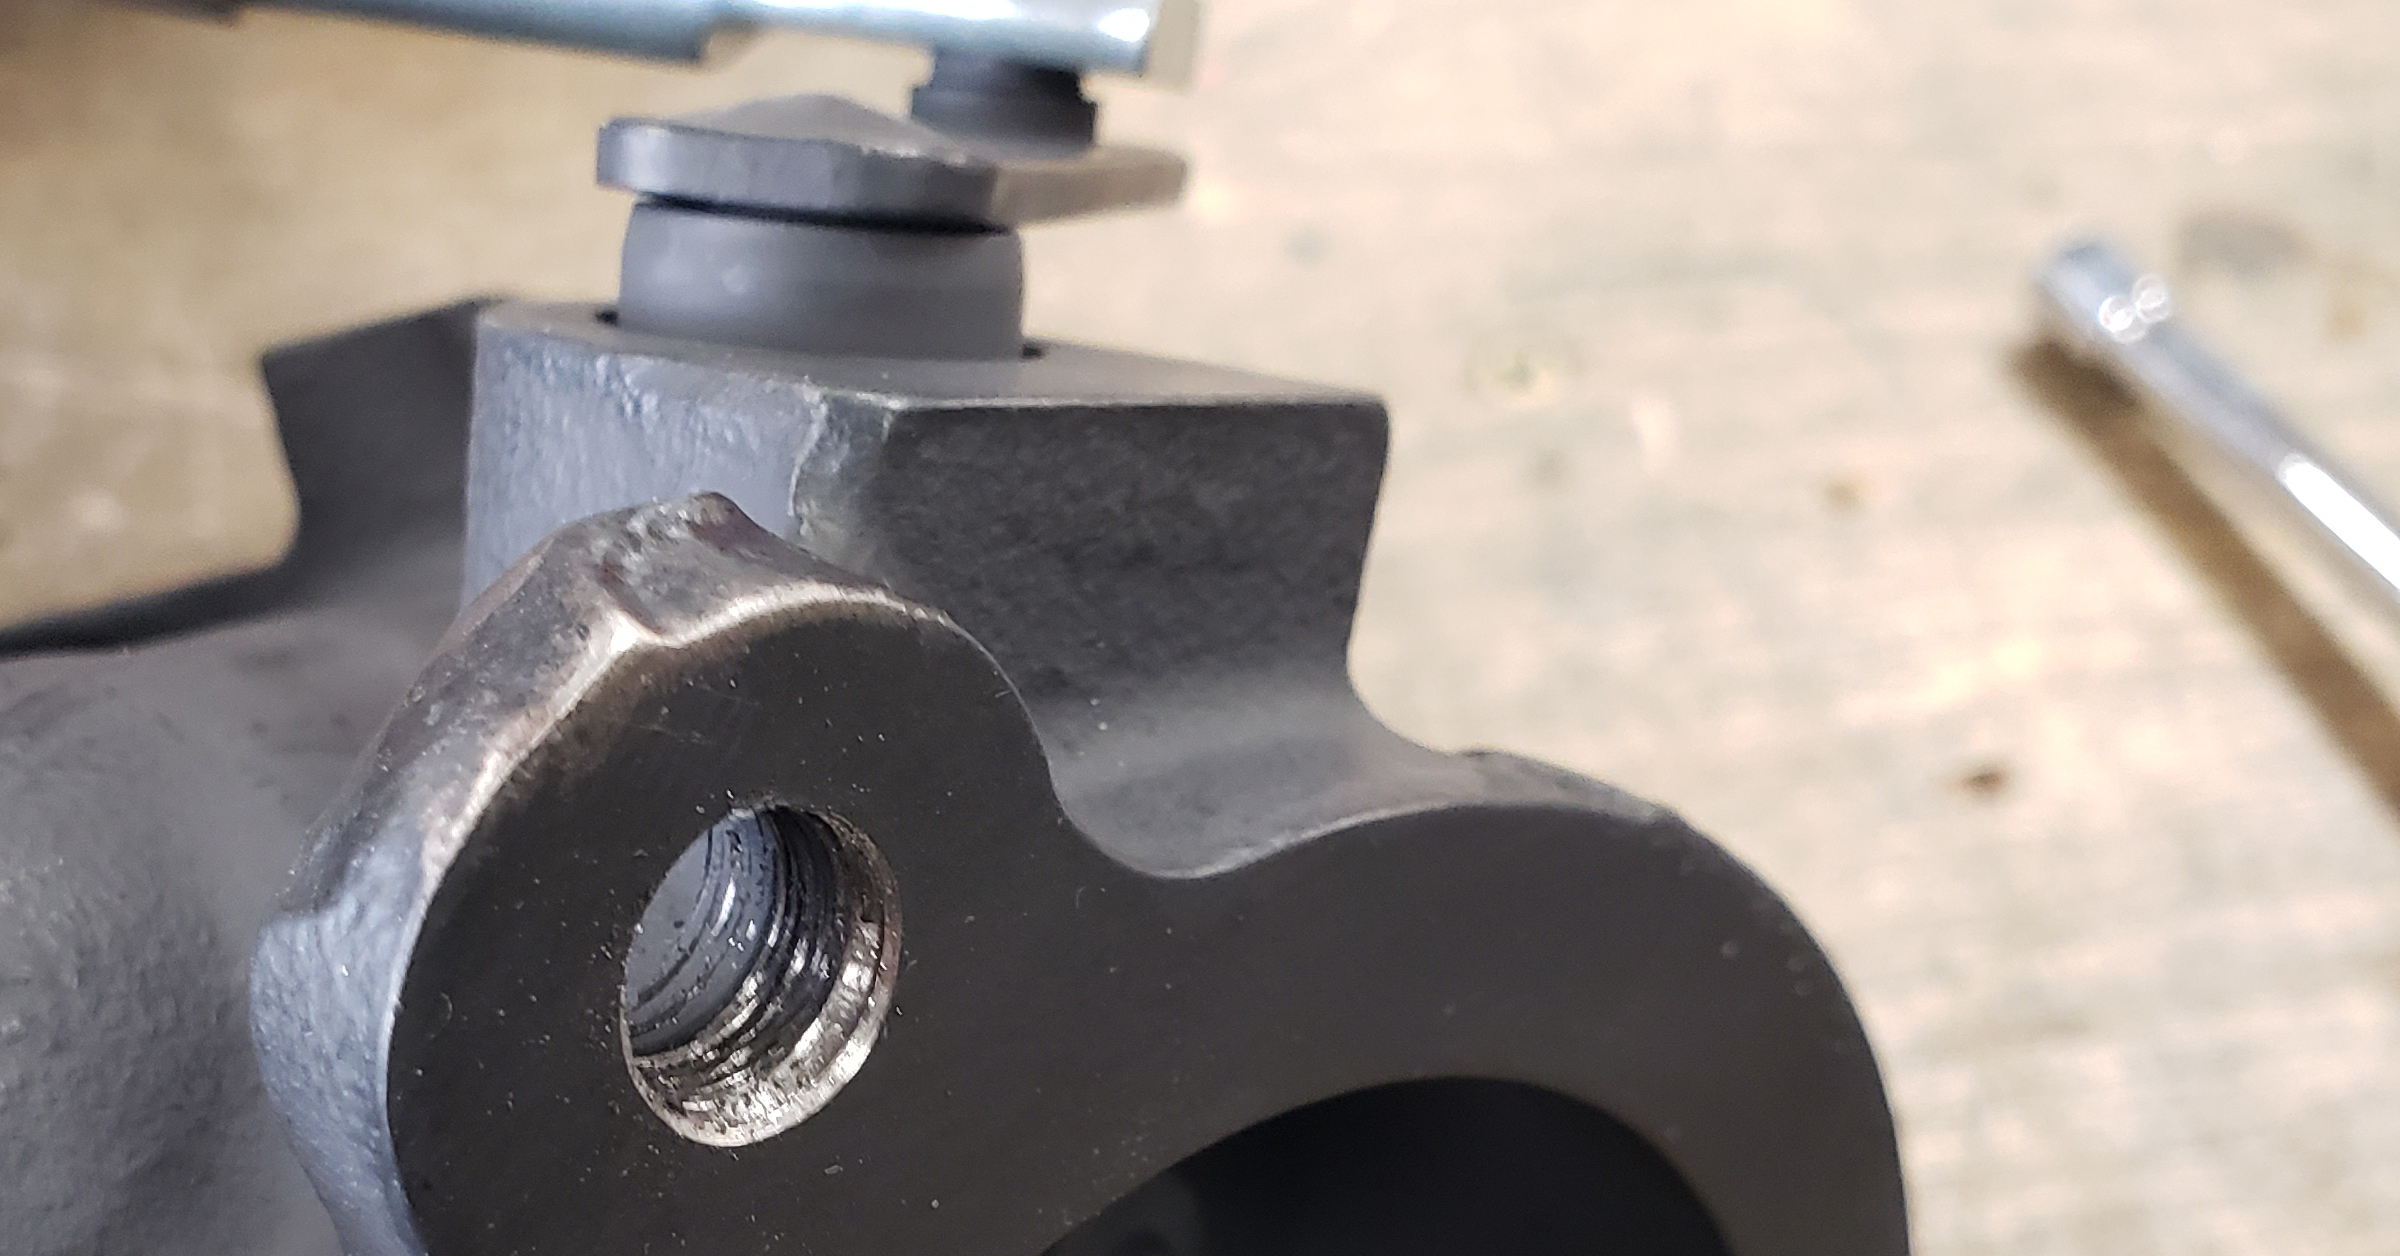
I always felt the flange was thin in this location, so it is the most prone to damage. The metal is also relatively soft, so it doesn’t take much effort to stripe them out. In order to prevent this from happening in the future to any of the others, I decided to repair/upgrade them all. FYI, these threads need to be metric M10x1.5.
So I went and ordered some helical inserts. But not any old kind…I needed some that could withstand the high heat of the turbine housing. These are metric nickel helical inserts that can withstand up to 1000degF.
Along with the insert, the special helical tap is required. It is offered in a standard chamfer type or a bottoming chamfer type. I opted for the bottoming chamfer type as it would be of use in a blind hole in the future if needed.
You’re going to have to start out with a 13/32″ (or a 10.5mm) drill bit to clear out the space needed to rethread the helical insert.
After drilling out the hole and tapping it using the helical tap, the part where you install the insert comes next. This would appear to be the easiest part, but turns out it wasn’t. I didn’t have the insert tool and didn’t think I needed it. I was just using some needle nose pliers on the bottom prong of the insert to spin it. It would only go in about halfway before snapping the prong off. I went through about 3 inserts this was. The prong is designed to be removed once installation of the insert is completed, but it was breaking off way to soon. So instead of buying the actual tool…I made my own.
It’s just an M10x1.5 bolt that I ground a “hook” mechanism into in order to “catch” the prong properly, as it was intended.
The tool worked like a charm and only took me a few minutes to make and cost me exactly $0.00! Lastly, the prong could then be broken off. I simply used a punch to accomplish that, though there is a tool for that too.
This fix will resolve any issues with potential over-torqueing, but I highly suggest sticking to the factory torque spec. I also suggest to ALWAYS, ALWAYS, ALWAYS use anti-seize on any bolts that touch the exhaust system. Trust me, you’ll thank me later…
Did I mention to ALWAYS use anti-seize?