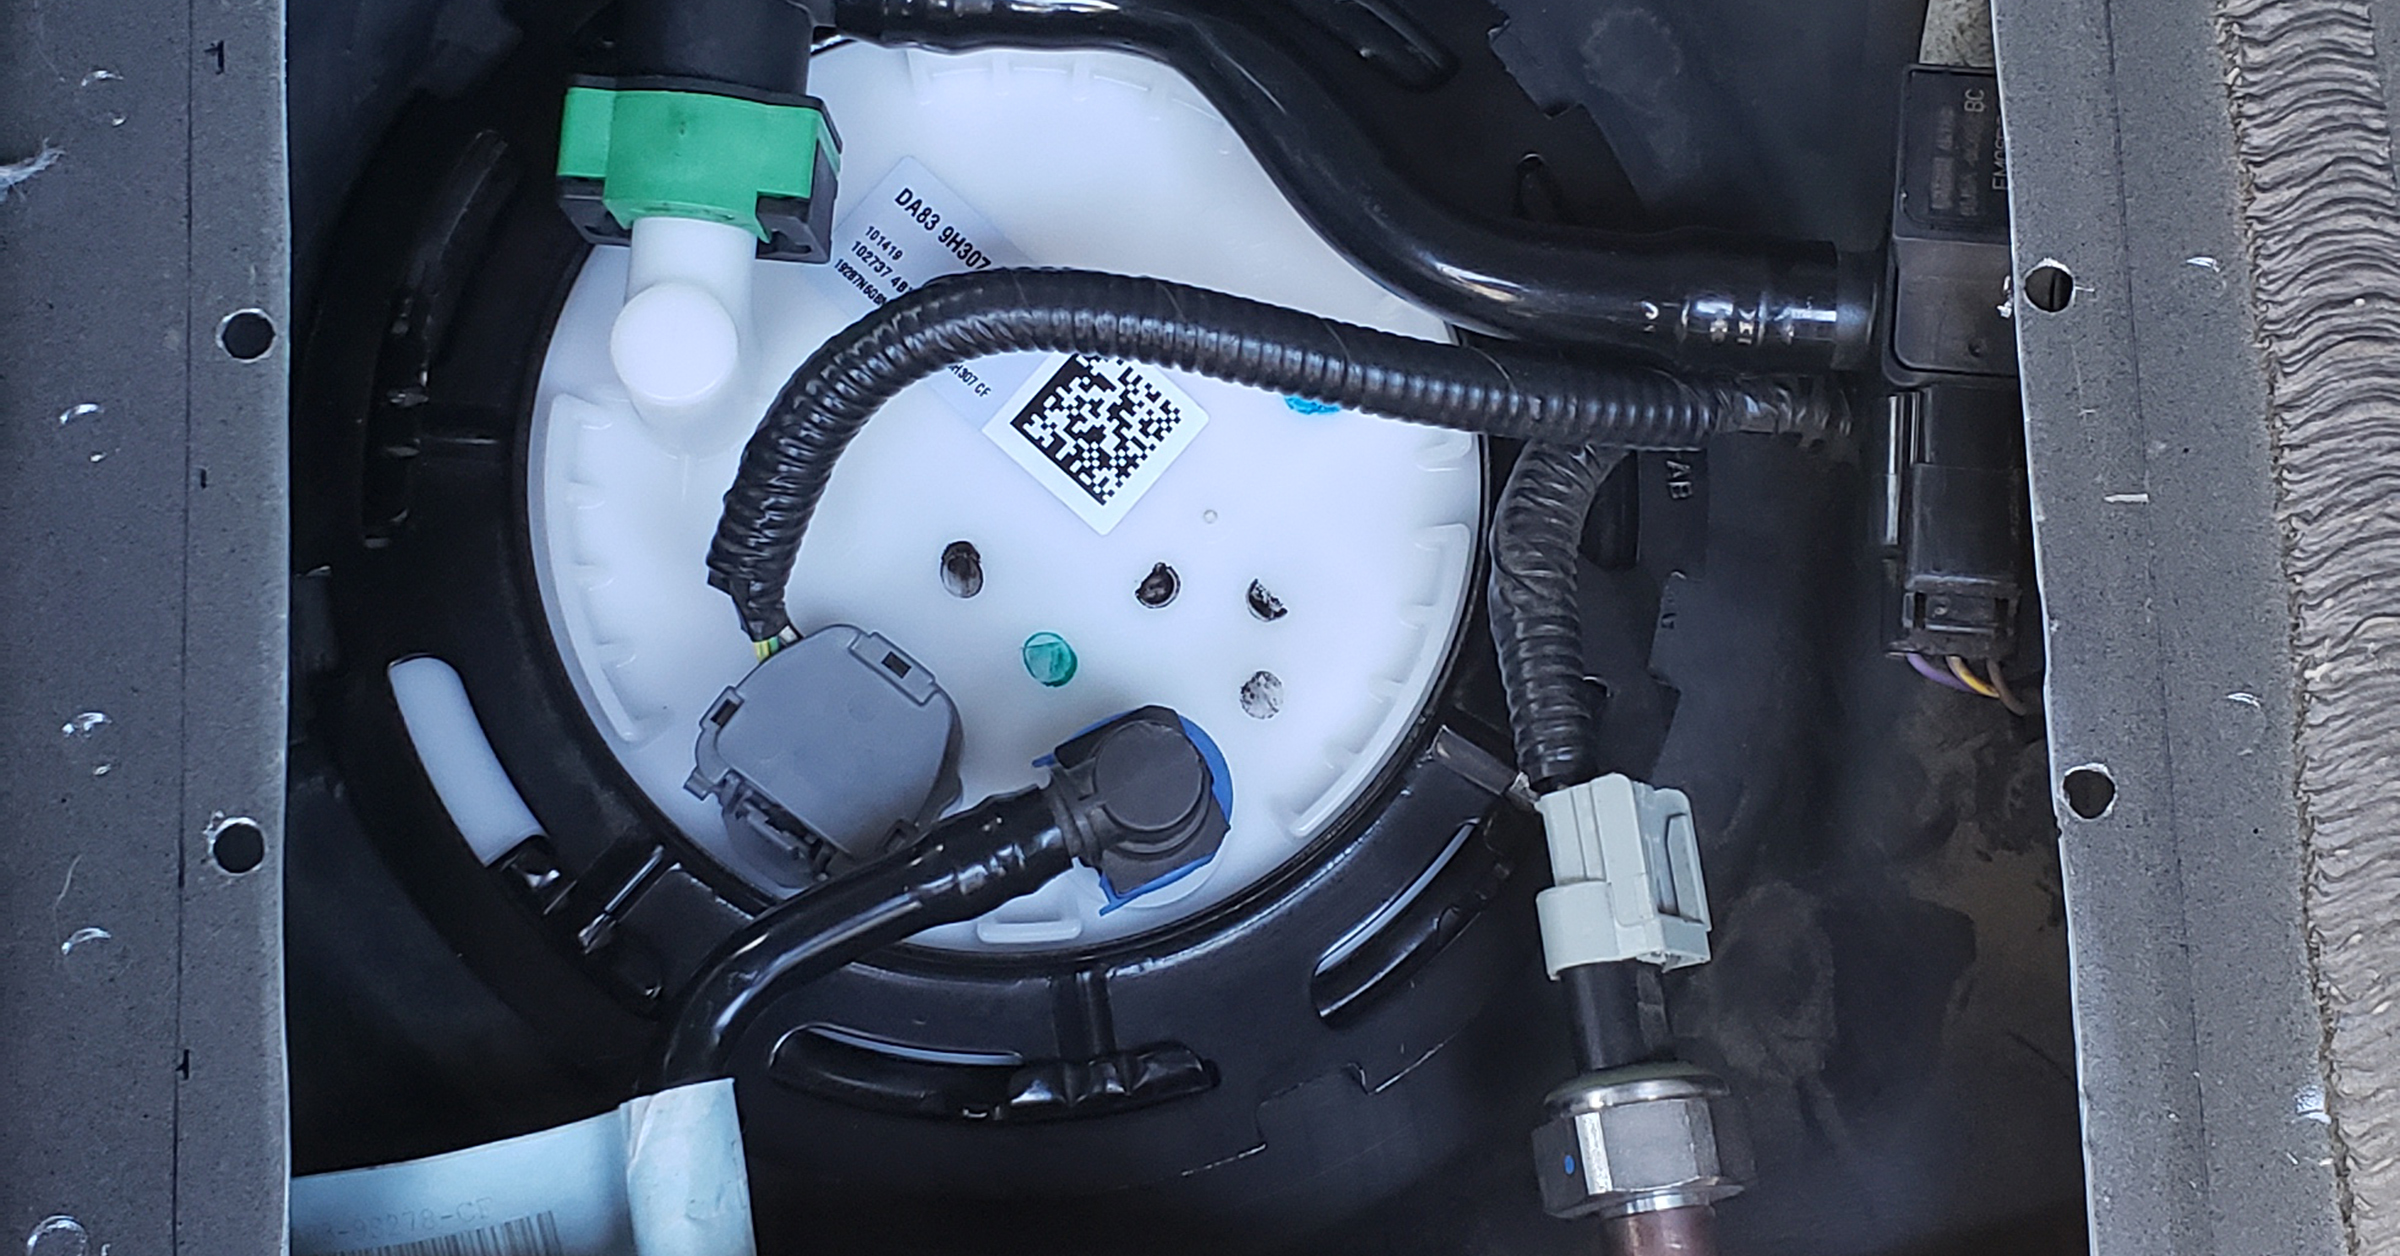
I was really dreading installing the fuel hanger that I had installed the Deatschwerks DW300c into.
Reason being…I was dreading dropping the fuel tank as the Ford Explorer doesn’t have top access from within the vehicle. This would mean taking the driveshaft down, removing the exhaust, removing the filler neck, all kinds of lines, etc. So, being that I hang out on the SHO forums a lot, I posed the question to see what those guys had to do for any pointers before I tackle the task. They proceeded to tell me the SHO has in-car access from a plastic cover under the rear seat…ugh…I got jealous, LOL.
Anyway, I decided to say “&^%$ it!” and see what can be done from the top. I took the seat out, cut back the carpet and found a small hole with a rubber grommet near where the fuel hanger would be. I used my boroscope to see what was under it and see what was in the way. Well, nothing was! So I made a larger exploratory 2.5″ hole that I could easily cap off with a rubber plug I had laying around if I had to abort.
So, after closer inspection, I noticed there were parts of the body that are required for the actual structure, but there looked to be a small window I could make to access the fuel hanger without effecting any of the integrity. It would be an odd shape, but it was a flat area that I could easily make a cover plate for when I was done. Sooooo, I decided to just commit…full send baby!!!
Here’s the cutting tools you should try to use. I would NOT use a cut off wheel as it creates sparks and I am not sure how the fuel vapors are in that vicinity:
WeatherTech mat covering hole, to see how obvious it might when I would get finished:
Well, Now I just would have to make a cover plate, which will have integrated gussets for added rigidity and a rubber gasket to seal it up. I’ll drill and install some rivet nuts and this thing should be super easy to access in the future should I need to!
Cardboard template of the cover I will cut on the shears I have at work:
Cut the new plate from 8Ga aluminum plate…pretty thick stuff, won’t be putting the indents in as this is way thicker than the sheet metal body.
Gasket cut & sized. Just need to identify where to place the hardware holes…
Had some DynaMat laying around.