Here is my spin, or should I say, variation, on the install for the UPR Products catch can setup. It’s pretty straight forward and I think the product is a very well made item. I did have a few issues that I found annoying, so I decided to make some small changes to an already great product.
One of the issues I had was, the way it was designed to be mounted made the can lean very far over because it was pressed against the wheel well. In the following photos you can see what I’m talking about. The bottom of the can hits that insulation on the wheel well:
Believe me, I tried spinning and changing the mounting orientation but nothing really worked. The only way I could get the can perfectly upright while using the provided hardware would put the can directly underneath that AC line, not allowing the top connector to fit:
Now, I’m pretty mechanically inclined and can get really creative sometimes, but this one had me frustrated and baffled. Yeah, sure it would work leaning that way, but it just…looked like shit. I couldn’t believe that UPR would allow this so I started thinking I got an incorrect part. It was at this point that I contacted them.
So the conversation started out friendly enough. I told them my dilemma and what I was experiencing and they sounded pretty surprised that I was having this trouble. I sent them photos and we went back and forth for awhile but it was almost as though they couldn’t see anything wrong. I told them how much it leaned over and they kept saying that no one’s ever had any problems…
…I actually started getting pretty pissed off at this point as they just couldn’t understand my issue with the product. They just kept referring me to keep rotating it around a bit. But I had tried every combination of rotation and nothing worked.
They were basically just telling me I was S.O.L. and that they can’t see anything wrong with the setup and didn’t know how to help. Well, I just hung up at this point and walked it off and drank a beer.
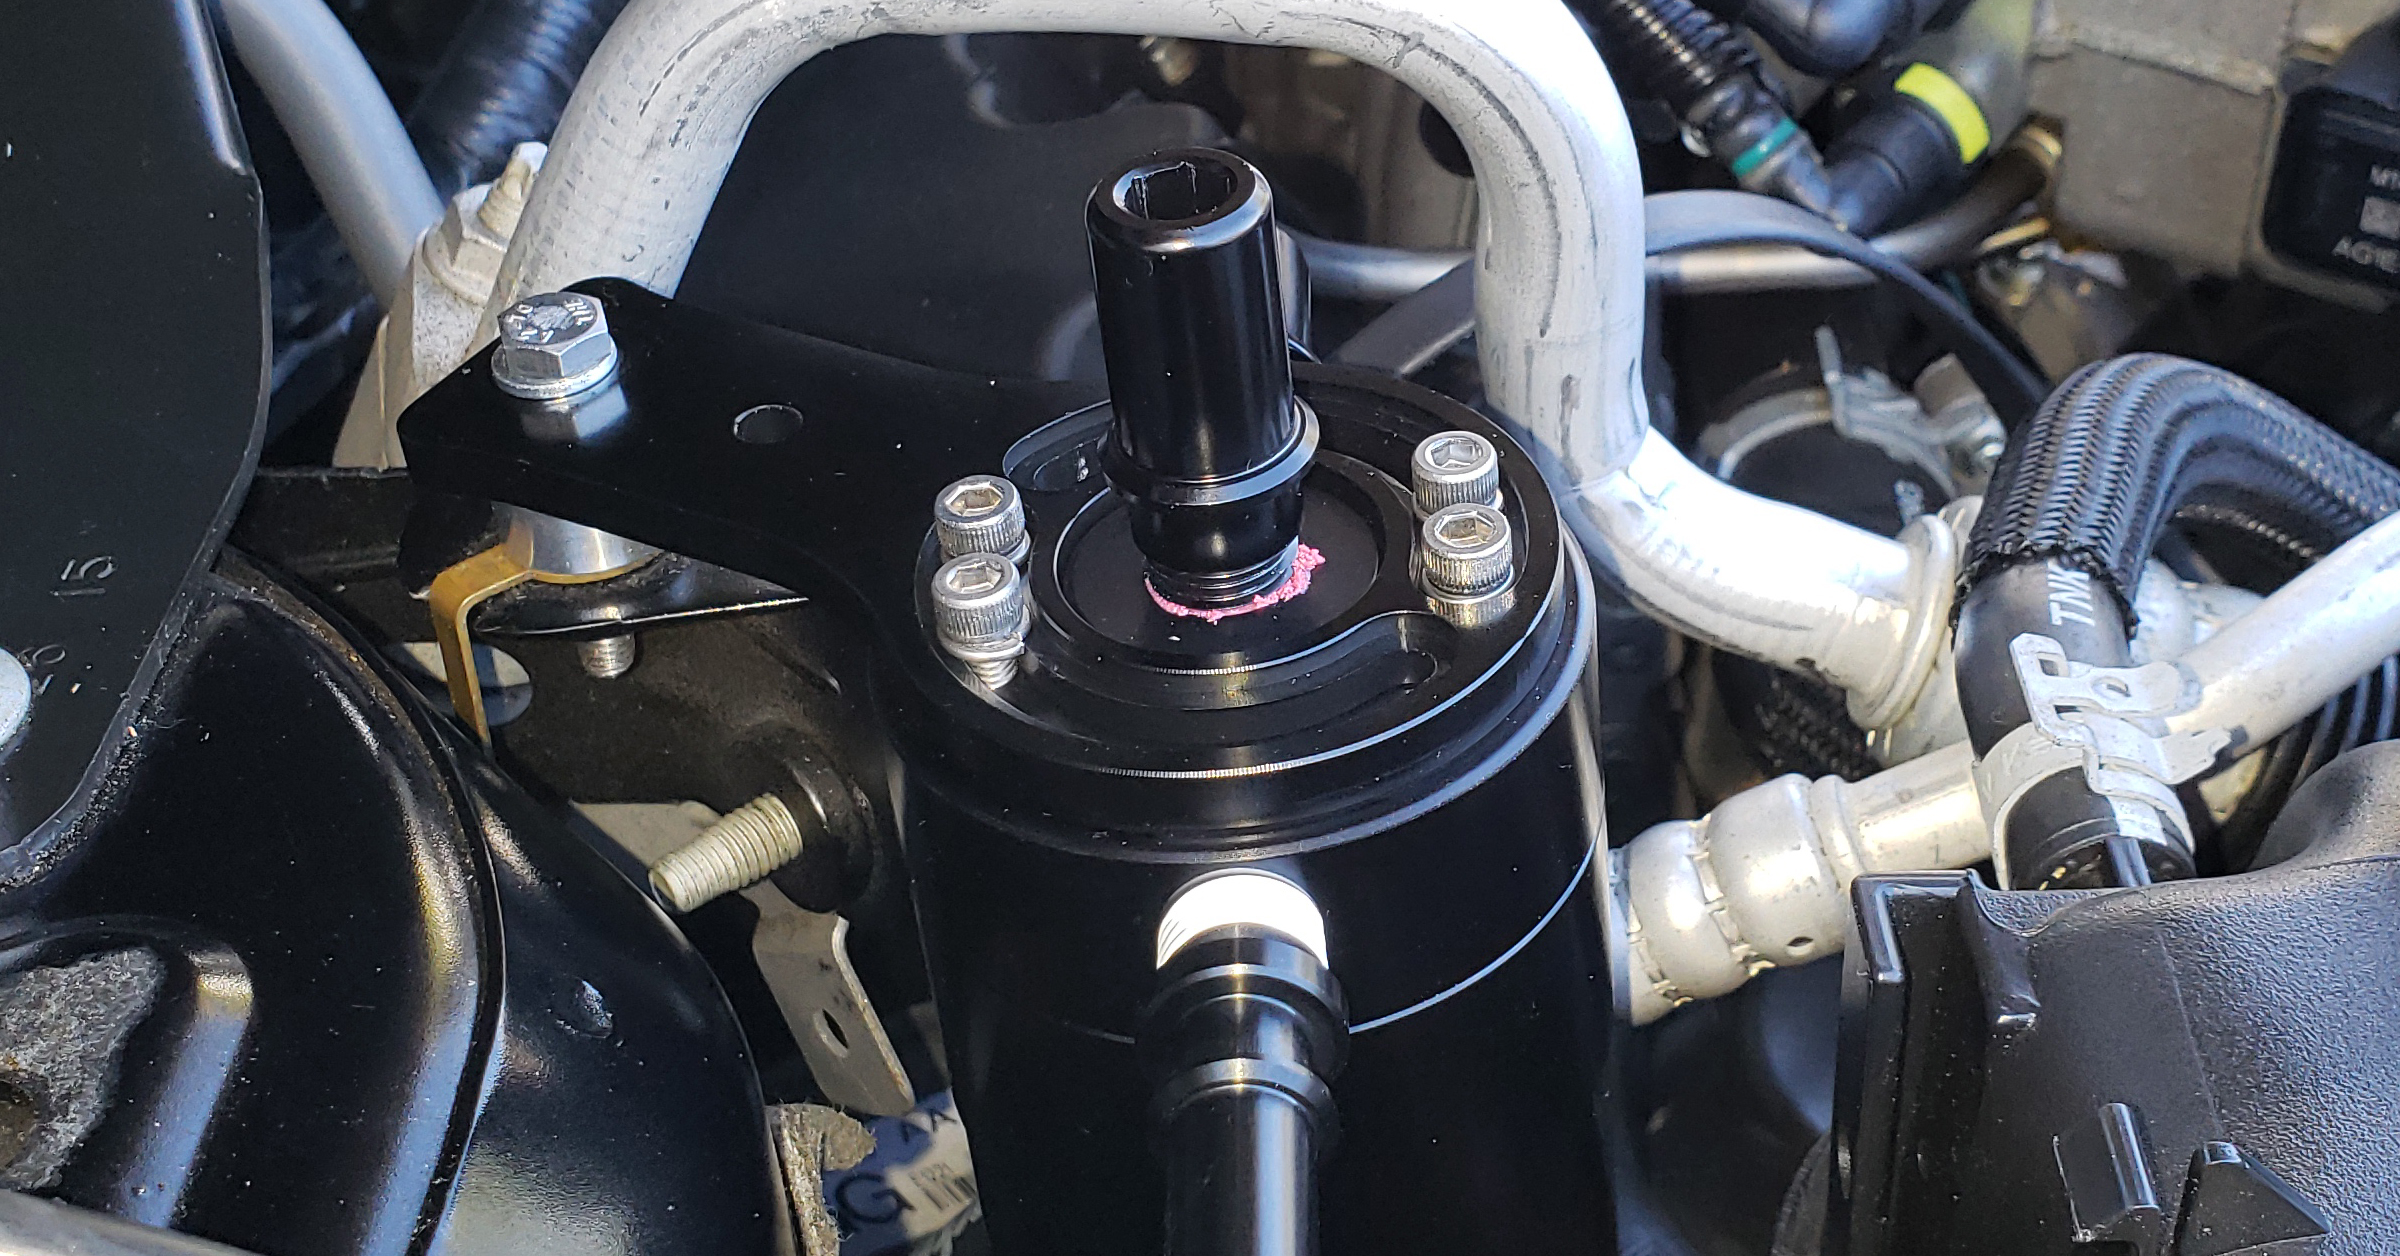
I told myself I wasn’t going to let this thing kick my ass, so I started finding what would need to change in order to make it upright. I realized, it really just needed to sit a bit higher and it would clear everything just fine. How much higher? Well turns out to be about an inch. Luckily, I had everything I needed in my “workshop”.
I had a leftover piece from a Roland Sands breather spacer off a Twin Cam Harley motor that I never used and it was the right length and looked pretty cool, then I just found an appropriate bolt long enough in the proper thread pitch…and, viola!
Problem solved! Perfectly plumb and all fittings would clear any obstruction. Now that was out of the way, I could proceed to the next set of issues.
The next issue was the fitting that connects to the clean side. I was provided with a large 5″ or 6″ silicon coupler with a fitting coming out the bottom. This was designed to be used with the stock airbox. Problem was, I had the AirAid box, but the fix was easy. I just took the quick connect fitting out of the silicon coupler and find, to my surprise, that it’s threaded with a 1/4 NPT on the end. Perfect! The plastic tube section of the AirAid box is very thick in that same area, so I just drill the appropriate size hole and threaded the plastic. I intentionally made the threads shallow so that the fitting would seal tightly as it was threaded into the plastic:
That solved that issue. Finally, as I was installing the quick drain setup I had added to my purchase, I started thinking about how I could make this draining process even easier. I started thinking…there’s gotta be a way for me to drain this thing without taking the can out OR getting underneath the vehicle.
I scrounged through my collection of random fittings and connectors and found what I was looking for. I would remove the bottom plug and install a stainless steel, push-to-connect fitting (although barbed fittings will work too). I like these fittings as they are able to easily swivel even when tightened and connected to some hose.
I also didn’t really like their ball valve too much so I went with one of my choosing. Another stainless component, and installed push-to-connect fittings on either side of it.
And here is the hose (high temp PTFE, so don’t sweat the temperature issue…I know somebody will ask), along with all the parts I used for this:
I found this area behind the front grille to mount the valve, after drilling some holes in the plastic for the zip ties that will secure it in place:
The hose goes from the bottom of the can to this valve. I can close the valve, but as an extra precaution, I keep a push-to-connect stopper (red piece) always installed.
Now, how the hell does this all work and how does it make it easy you ask? Well, enter my air-operated MityVac fluid extractor.
Normally used to bleed brakes but it has many other uses. I just pull out the red stopper, connect another section of the same hose to my MityVac, connect my shop-air to the MityVac, open the catch can valve and it sucks it out pretty quick.
Problem solved!