One of the heavier components of the engine bay I felt could be improved upon was the actual battery. I learned from my Harley-Davidson build, that AntiGravity made some pretty high quality, lightweight lithium batteries. I started researching and turns out, although they seem to have the motorcycle industry taken care of, it’s Braille that leads the way in the automotive world.
I had used a Braille AGM battery back in my Mitsubishi Evo days and really liked it. I looked up their new lithium ion stuff and it was impressive. I had to make sure I had at least the same amount of cranking amps, as well as a decent amp-hours rating. Called Braille up and the Intensity i25x was the ticket. Their Intensity line of batteries is the go-to line for direct, drop-in replacements. They sent me free Li-Ion charger with it as well. Don’t get me wrong, this stuff is pricey, but it’s miles ahead of current battery technology and the charger is high quality as well.
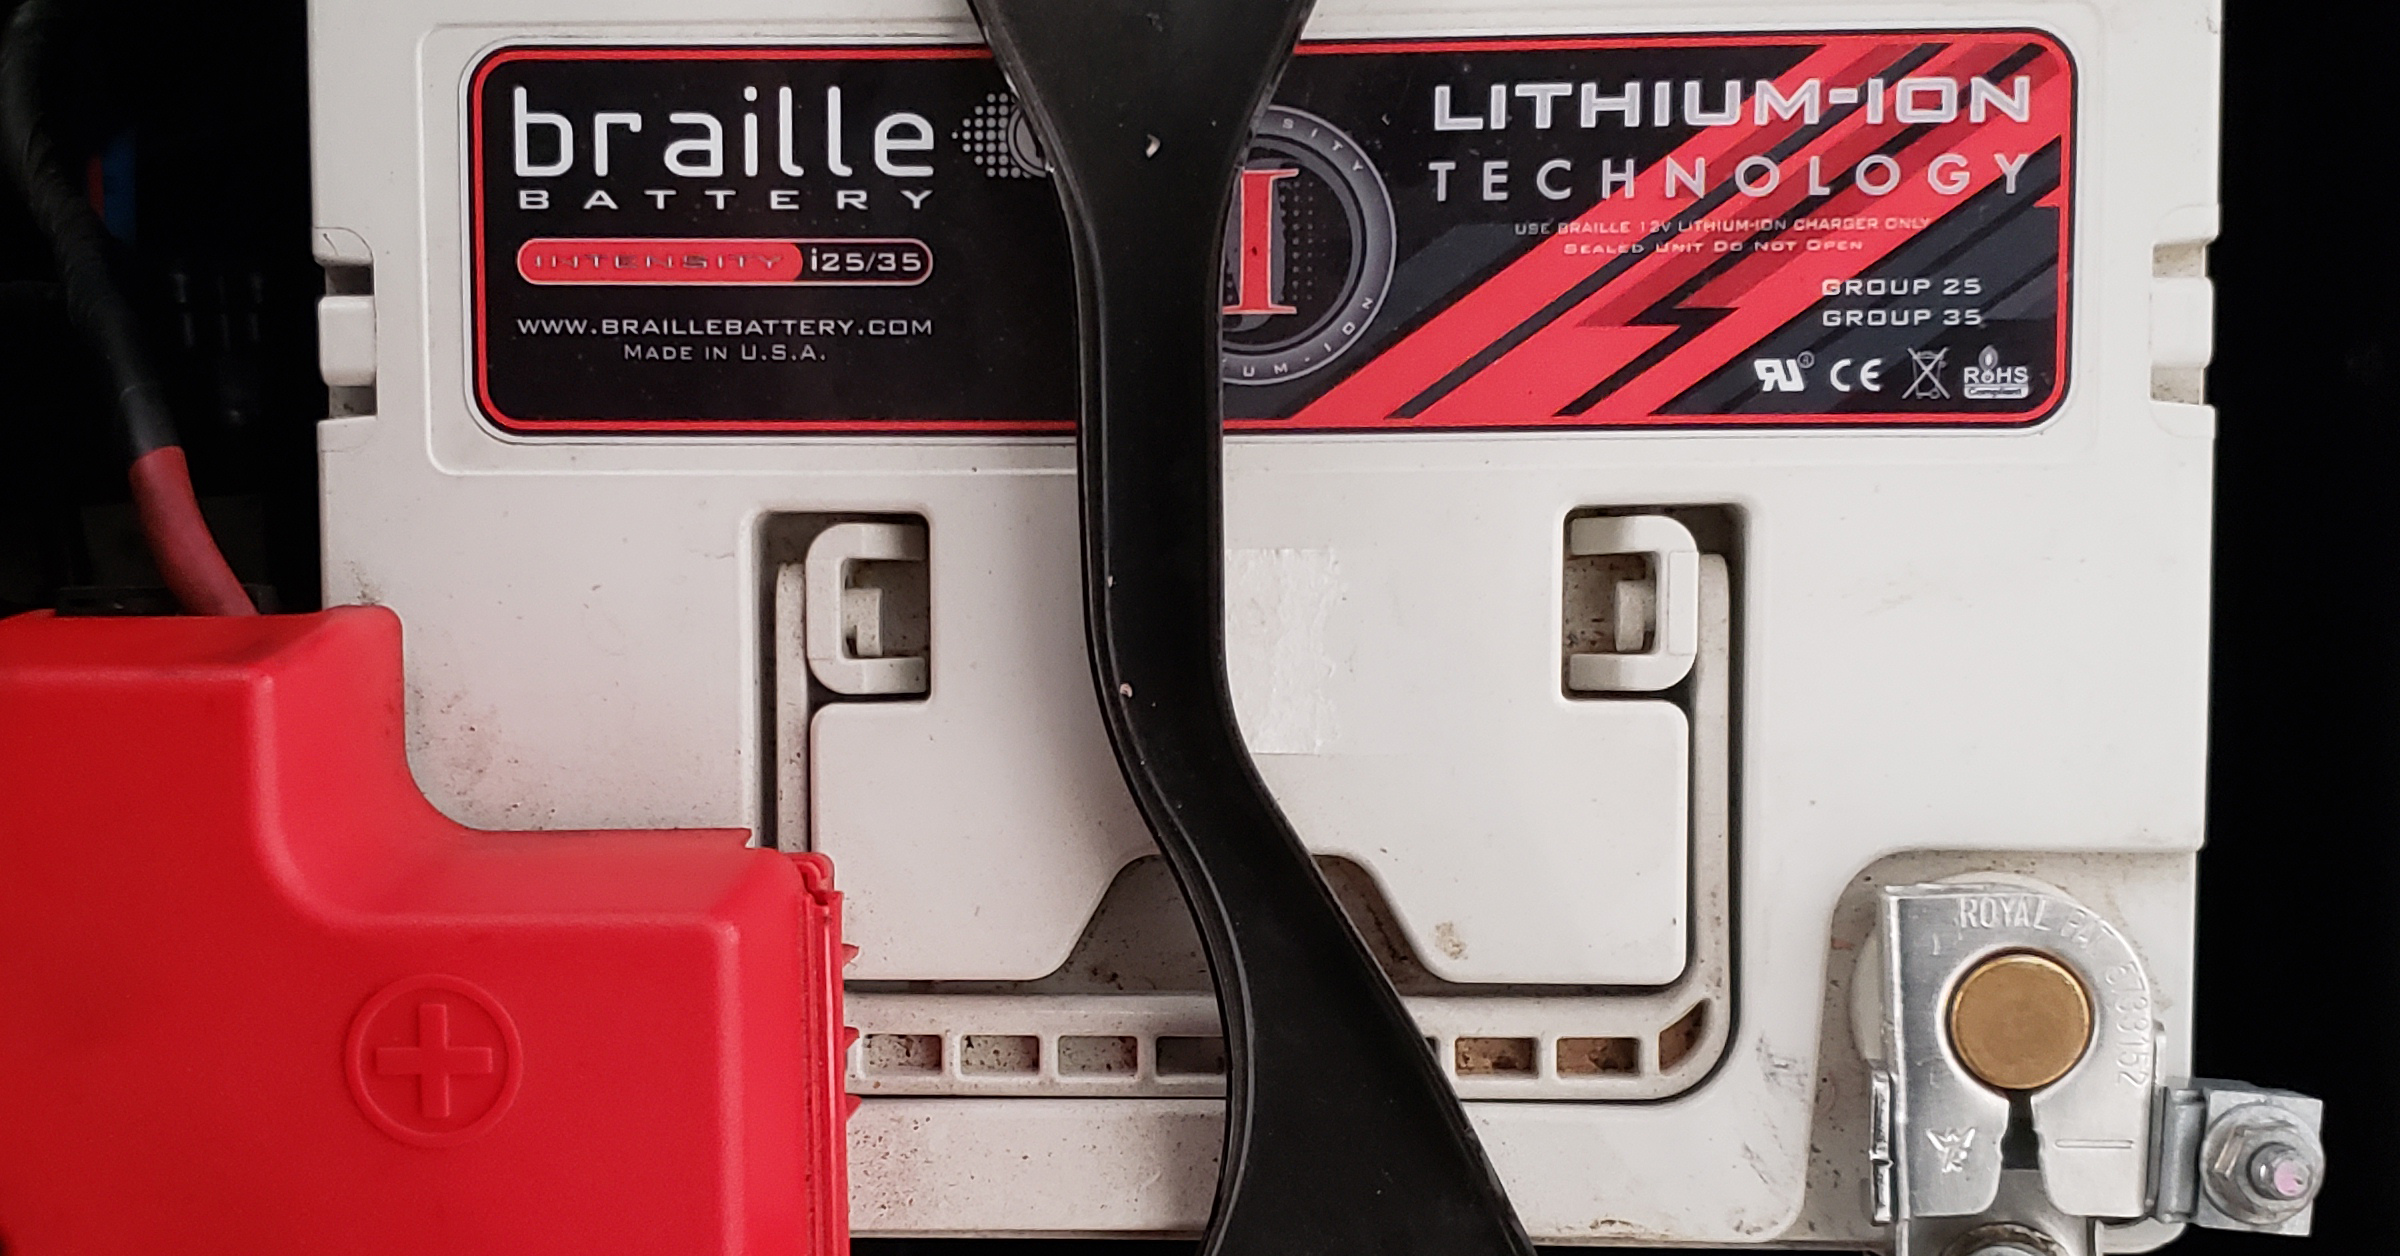
OEM battery is a Group 65 and this is a Group 25. OEM battery is rated at 810 CA and 650 CCA, whereas the Braille battery is rated at 1250 PCA, different measuring method, but needless to say it’s WAY more powerful. However, reserve capacity for OEM is 130Ah versus the Braille battery at 75Ah. Less, but I don’t ever have the key on for extended periods of time without the vehicle running, nor do I have a high powered stereo.
Weight difference between the two:
So the battery was similar in size, but not exactly. It was a bit taller and unfortunately, the battery hold down wouldn’t work, it was about an inch too short (insert joke here)…so how to hold it down? Well, I decided to extend the OEM rods in order to be able re-use the stock hold down. First thing was, figure out thread pitch of the existing threaded rods, which ended up being M6-1mm.
Then get some threaded rod to match and some sort of coupling nut or threaded standoff. Found what I needed at McMaster (damn I love that place…).
Everything is stainless steel, as usual:
Measured and cut down the existing rods:
Used a metric M6-1mm die to thread the unthreaded portion of the OEM rods:
Then just installed the standoffs about midway down and installed the new threaded portion into the upper half. I used red loctite on these parts as I don’t ever expect to need to separate them:
The portion where the terminals are on the Braille battery aren’t 100% flush with the top of the body, making the battery management system not completely seated all the way down, but was still enough:
Viola, finished product:
This thing cranks the starter with some serious…vigor! LOL. Very noticeable difference in cranking, night and day difference
As for longevity, well, it lives on a trickle charger when not being driven so that helps. I’ve no issues for the year that it’s been on the vehicle. It must be noted that is NOT a deep cycle battery and is not ideal for those that are interested in extensive audio system modifications (or hydraulic suspension, LOL). It will not perform well in those applications.
To make charging easier, I installed one of those direct-connection 2-wire flat connectors to the battery and can connect/disconnect easily as needed.
EDIT: The negative battery terminal being at an angle like in the previous photo always bothered me. Because the terminal post sat slightly lower than the top of the battery, if I were to put the actual terminal straight, the tightening nut would hit the battery top, not allowing it to seat properly. After first seeing if an aftermarket terminal would solve this issue, I took a look at the OEM one and noticed it can be disassembled. That was an easy fix, just disassemble it and switch sides:
And final install appearance: