I wanted to get rid of the roof rack for awhile now as I never use it and feel like it might be another few pounds that can be shaved. I was thinking it would look a bit more clean and give it an even lower visual appearance by bringing the overall height down a bit.
The majority of Explorers come with the roof rack rails as a standard option with “slick top” variants normally being the PIU versions. I used a lot of the information contained within this post:
…and it was an awesome resource. Thank you to those that posted information on ways to make this happen. I won’t rehash much of what was covered in it except for some things I may have done a bit differently.
Here’s the before photo:
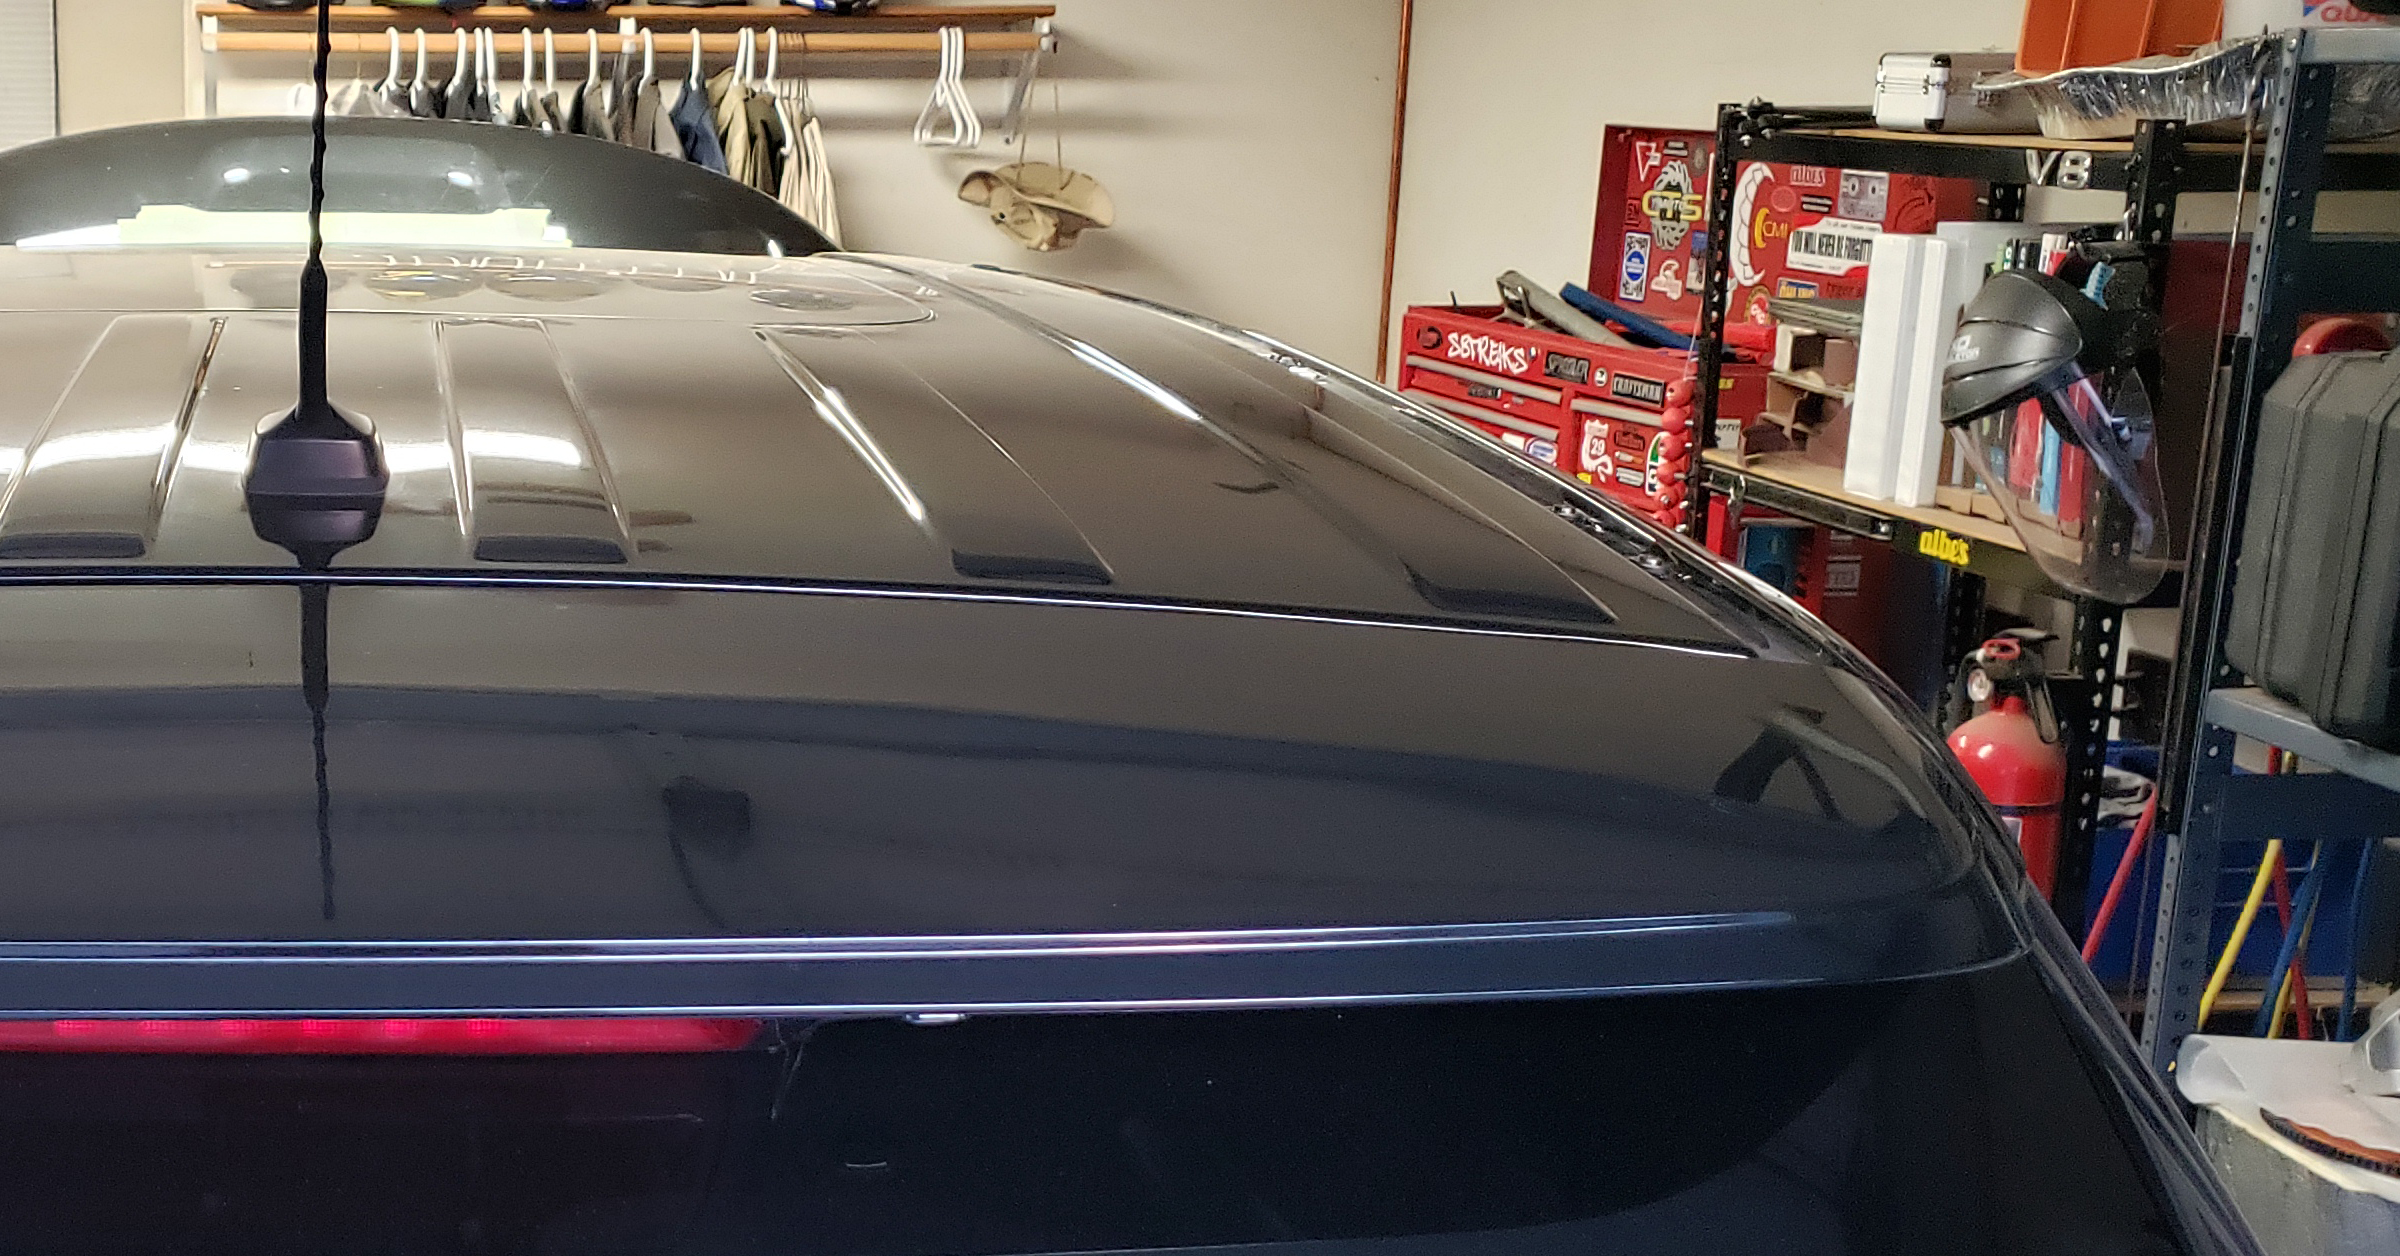
First step is popping off the end covers to access the bolts that hold down the rails.
And once those are off, it’s pretty much self-explanatory from that point. Here’s the entire roof rack system removed from the vehicle and weighed it on the scale:
Starting with the rear portion, here’s the bolt holes with all the dirt and grime cleaned up and ready for some new hardware to block the water:
I made a personal decision that I didn’t really care to add the length of channel stripping as I wasn’t really that concerned about it. I did want it to look good, but wasn’t too worried about the top portion, so I decided just to block of the holes with straight hardware. What I did decide to do was go with some pretty good quality (translation = expensive) 316 stainless steel hardware and some weather-resistant rubber sealing washers, along with RTV for good measure. Here’s a parts list that I ordered from McMaster-Carr:
Yes, those low profile bolts are pricey, but they will work great. The OEM ones will work fine as well, this is just a bit extra.
I doubled-up on the rubber washers to ensure it sealed against the contours of the bolt hole area. And also used some of this RTV for the extra measure:
I will concede that it looks much better with the weather stripping that is used to install in that channel. I just opted not for simplicity’s sake. It’s not all that noticeable and I still used the front short rail sections anyway.
Now, onto the front area. Here’s the parts needed:
I got everything from Sewell Ford as pricing (to include shipping) was the best I could find:
- DB5Z-7851728-AA Molding, Roof Side Trim $47.77 Qty: 1
- DB5Z-7851729-AA Molding, Roof Side Trim $47.51 Qty: 1
- FB5Z-7850002-A Retainer $6.80 Qty: 1
- FB5Z-7850002-B Retainer $6.80 Qty: 1
I made some changes with the sealing foam that came on all the pieces. I decided I didn’t like it so I removed it all as I was going to use RTV and those rubber sealing washers for a more positive seal. I’ve seen that foam stuff go bad over time, so felt my option would last longer. Only time will tell…
Side note: For those that don’t know, WD-40 is the most perfect chemical to get rid of adhesive “boogers” and residue…it practically wipes off. It’s great when removing decals and weather-stripping as well.
And there ya go. What you guys think? Feel free to comment!