This was one of those things to fail that you just KNOW is going to be a pain in the ass. Guess what? It is!
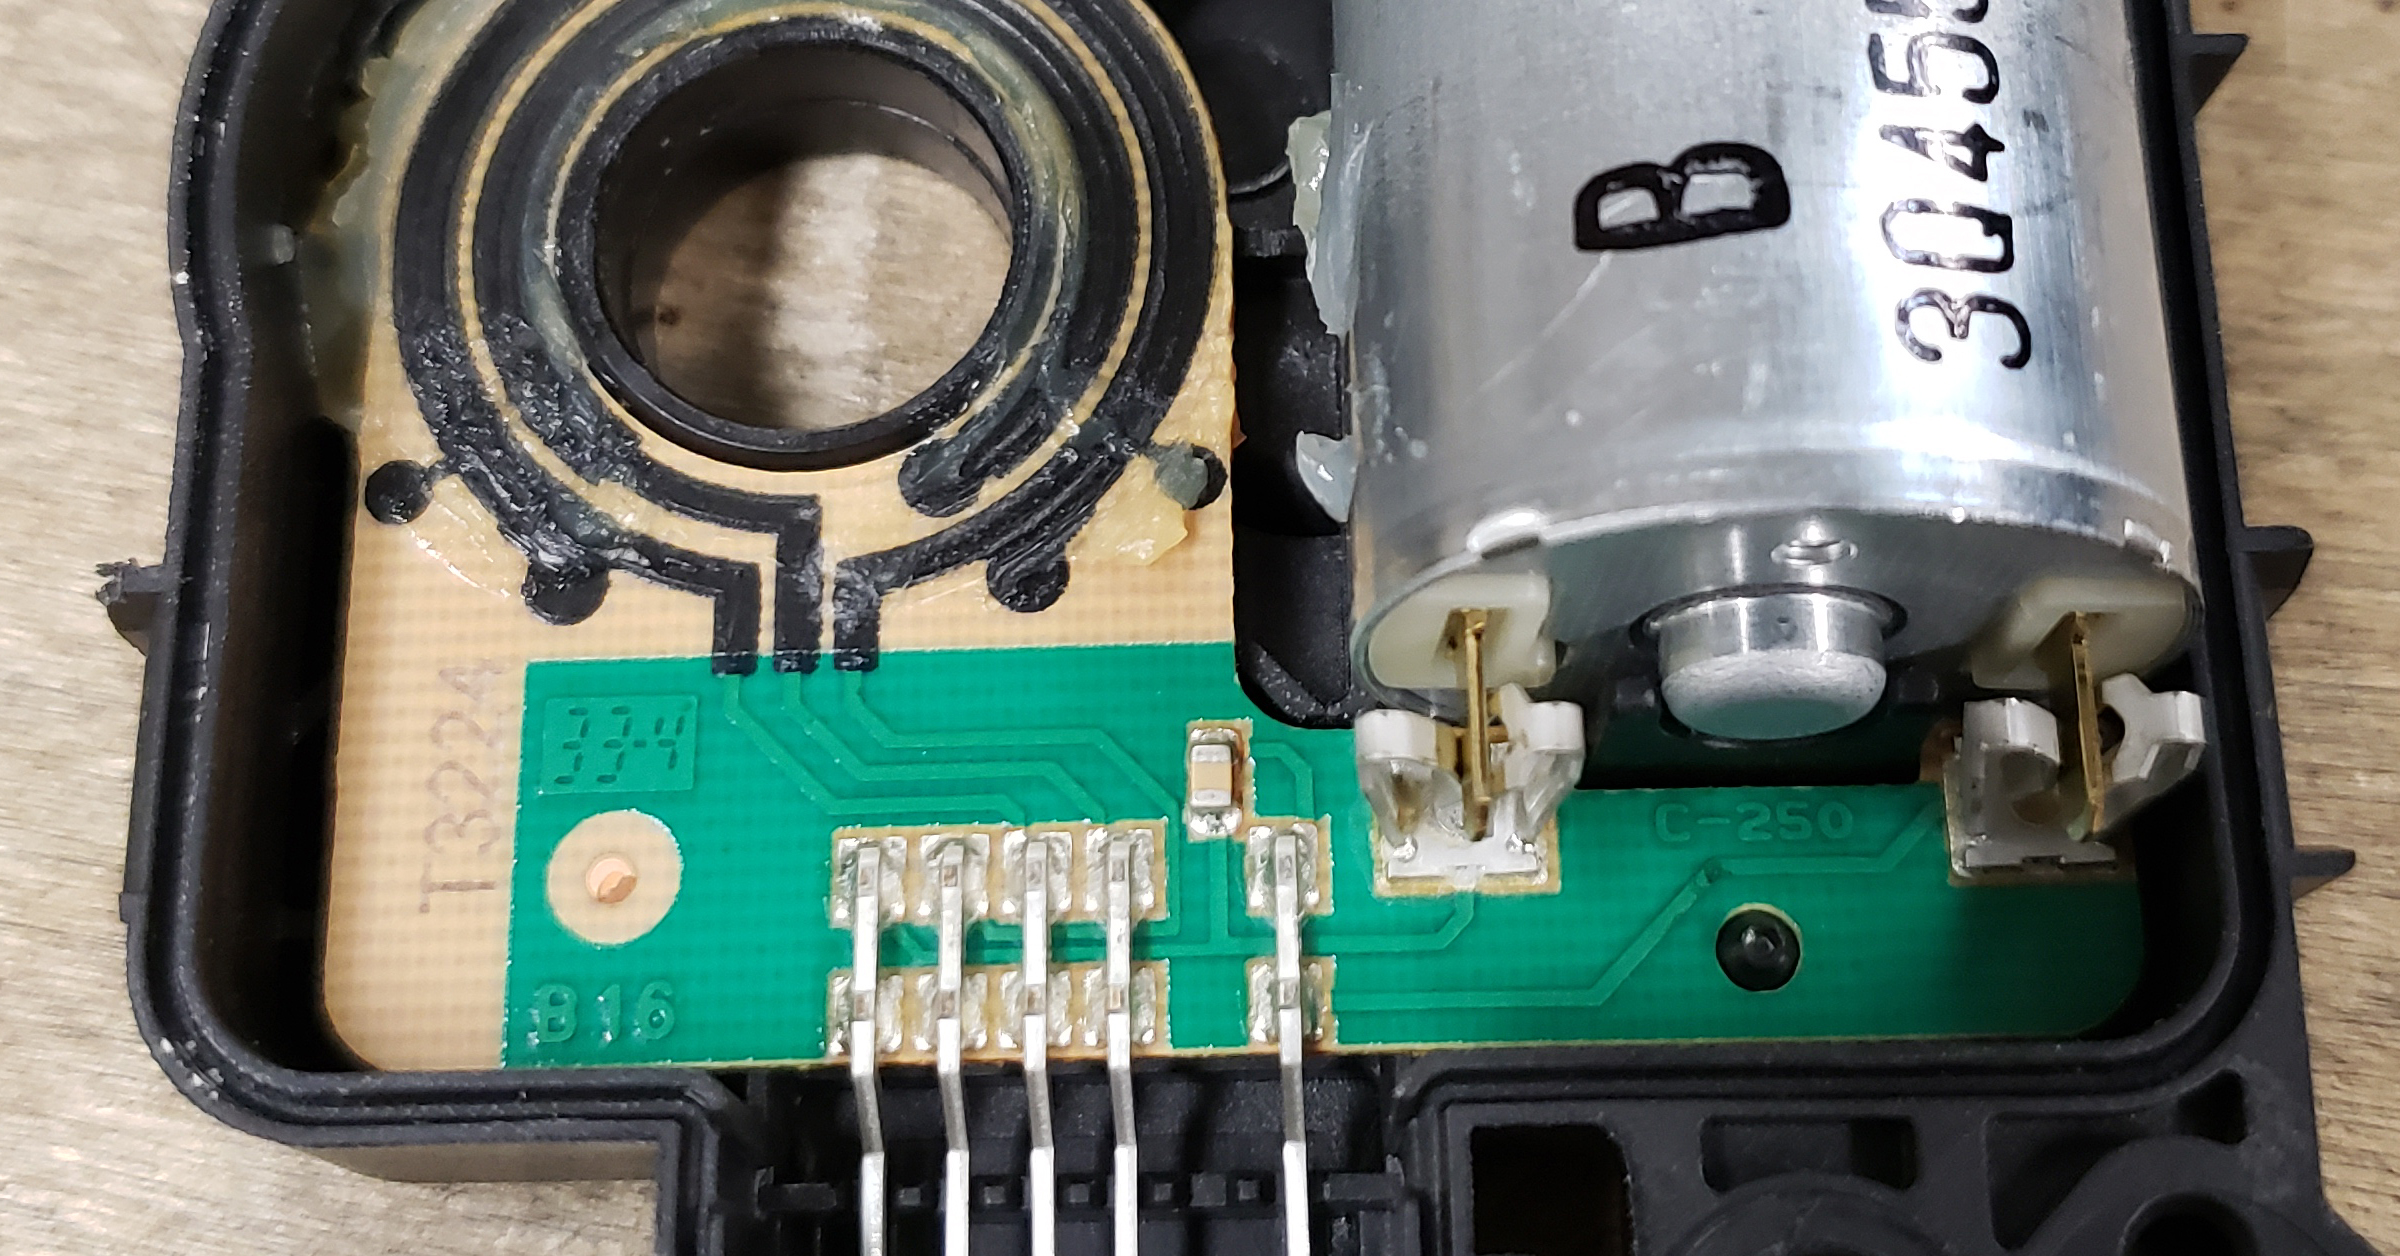
The actuator was stuck on defrost and I could never get it out of that position. Did some research and found that they fail often. Ford uses these in various places as well as in many of their platforms. It’s the newest version of the actuator and you can see in this video why it may not be the best improvement. Yes, it’s smaller…but made cheaper:
There are a number of actuators in the HVAC system in this vehicle. One is located on the passenger side and it controls the blend of hot/cold temperature. So if you’re having that issue, it’s likely you’ll want to check out these videos for some help:
The one that failed in my case was one of the worst ones to go as far as labor. If you are having issues with the HVAC sticking between DEFROST, DASH or FLOOR setting, this is the one you need to replace. This is something that, if taken to Ford will cost you $$$$. Apparently, Ford needs to remove the ENTIRE dash to get to it…so yeah, lotta dough.
Anyway, did some research and found this:
I won’t re-hash what I found in this video except give you a parts list and some tips I found to make it easier, but I will say this video saved me A TON of time and work. Thank you so much to Burn_1327 for the video!
This is one of those jobs where having the right tools will make or break your sanity. As with all things mechanical, there is more than one way to skin the cat, but man, if you have the tools below, you will thank me later.
Anyway, some of the parts and tools needed for this job:
- Actuator: Ford PN AA5Z-19E616-A
- DeWalt Right Angle Attachment, Flex Shaft, 12-Inch (DWARAFS)
- Magnetic Nut Driver Socket Set
- 1/4″ Cordless Impact Wrench
- Long-reach upholstery removal tool
As for removing that red tab on the connector, it DOES NOT need to come all the way out as mentioned in the video, just pull it back a bit and it’ll click out into place. Then remove it as you would any connector by depressing the lock tab:
In the video, he removes the top 2 screws with that 90deg flex shaft and the bottom screw with a 3″ extension on a ratchet. I found that you can reach that bottom screw with the flex shaft very easy:
You want to use those nut driver sockets because they are slightly shorter than a socket adapter and socket. There isn’t much room and you need all the space you can. It’s great to have the magnetic ones as the screws just stick to it and you don’t need tape or gum like the video posted suggested:
This pic is difficult to see what I’m talking about, but if you have everything removed as required, from underneath, look up toward the actuator and it’s a straight shot with the flex 90. In this pic it’s about center in the photo:
Now, with everything removed, it’ll still be kind of stuck in there. There is hardly NO room to get that thing out as there is a large wire harness right up against it. That’s where the long-reach upholstery removal tool came in handy:
I wedged it between and basically twisted the tool 90 degrees and it popped right out and fell straight to the floorboard:
In this pic, you see the end of the tool and the white slot the actuator inserts into. The actuator had already popped off in this photo, but you can get an idea of where to insert it:
The video creator had a great idea taking the old one apart and using the plastic gear to get the slot to line up before inserting the new actuator. Just break the tabs off the outer shell it will come right out:
I found an easier solution than marking and finding where it needs to be clocked. Just insert that gear back into the slot and turn it all the way clockwise (if you were to be looking at the gear from the exposed end and not the end inserted into the slot)gently until it stops. It can’t go further than the position it needs to be at. I did that, inserted the actuator and the bolt holes lined up perfectly.
It will require finger acrobatics to get that thing up in there, so don’t think this will be super easy. You will likely scream at the wiring harness that’s in the way a few times. Stick with it, you’ll get it.
As for putting the screws back in, this is where the magnetic sockets really shone. For tightening though, I didn’t use an impact wrench, I used a 1/4″ hex socket handle and tightened it by hand:
Finally, getting that connector back into the socket. That was, for some reason, the most difficult part of this job (it was ALL difficult, btw). You can only fit one hand up there, so it all has to be done single handed. AND you can’t see what you’re doing. It’s all done blind, LOL.
Anyway, got it connected, put everything back together and tested it. Worked perfectly!
Whew! The job took about 1.5hours start to finish, but it was a stressful 1.5 hours, LOL. Had I not watched that video, nor had the right tools, it could easily have been a 6 hour job trying to figure this out.
Some extra photos for you.