- Introduction
- February 26th, 2021…and it begins…
- April 7th, 2021…let’s do some testing…
- December 6th, 2021…let’s GOOOOOOOO!!!!
- January 18th, 2022…here they are!
- Uh oh…fixing a striped bolt hole in the turbo…
- Problem not quite solved…
Introduction
Well….I guess it was bound to happen. Just wasn’t looking forward to it so soon.
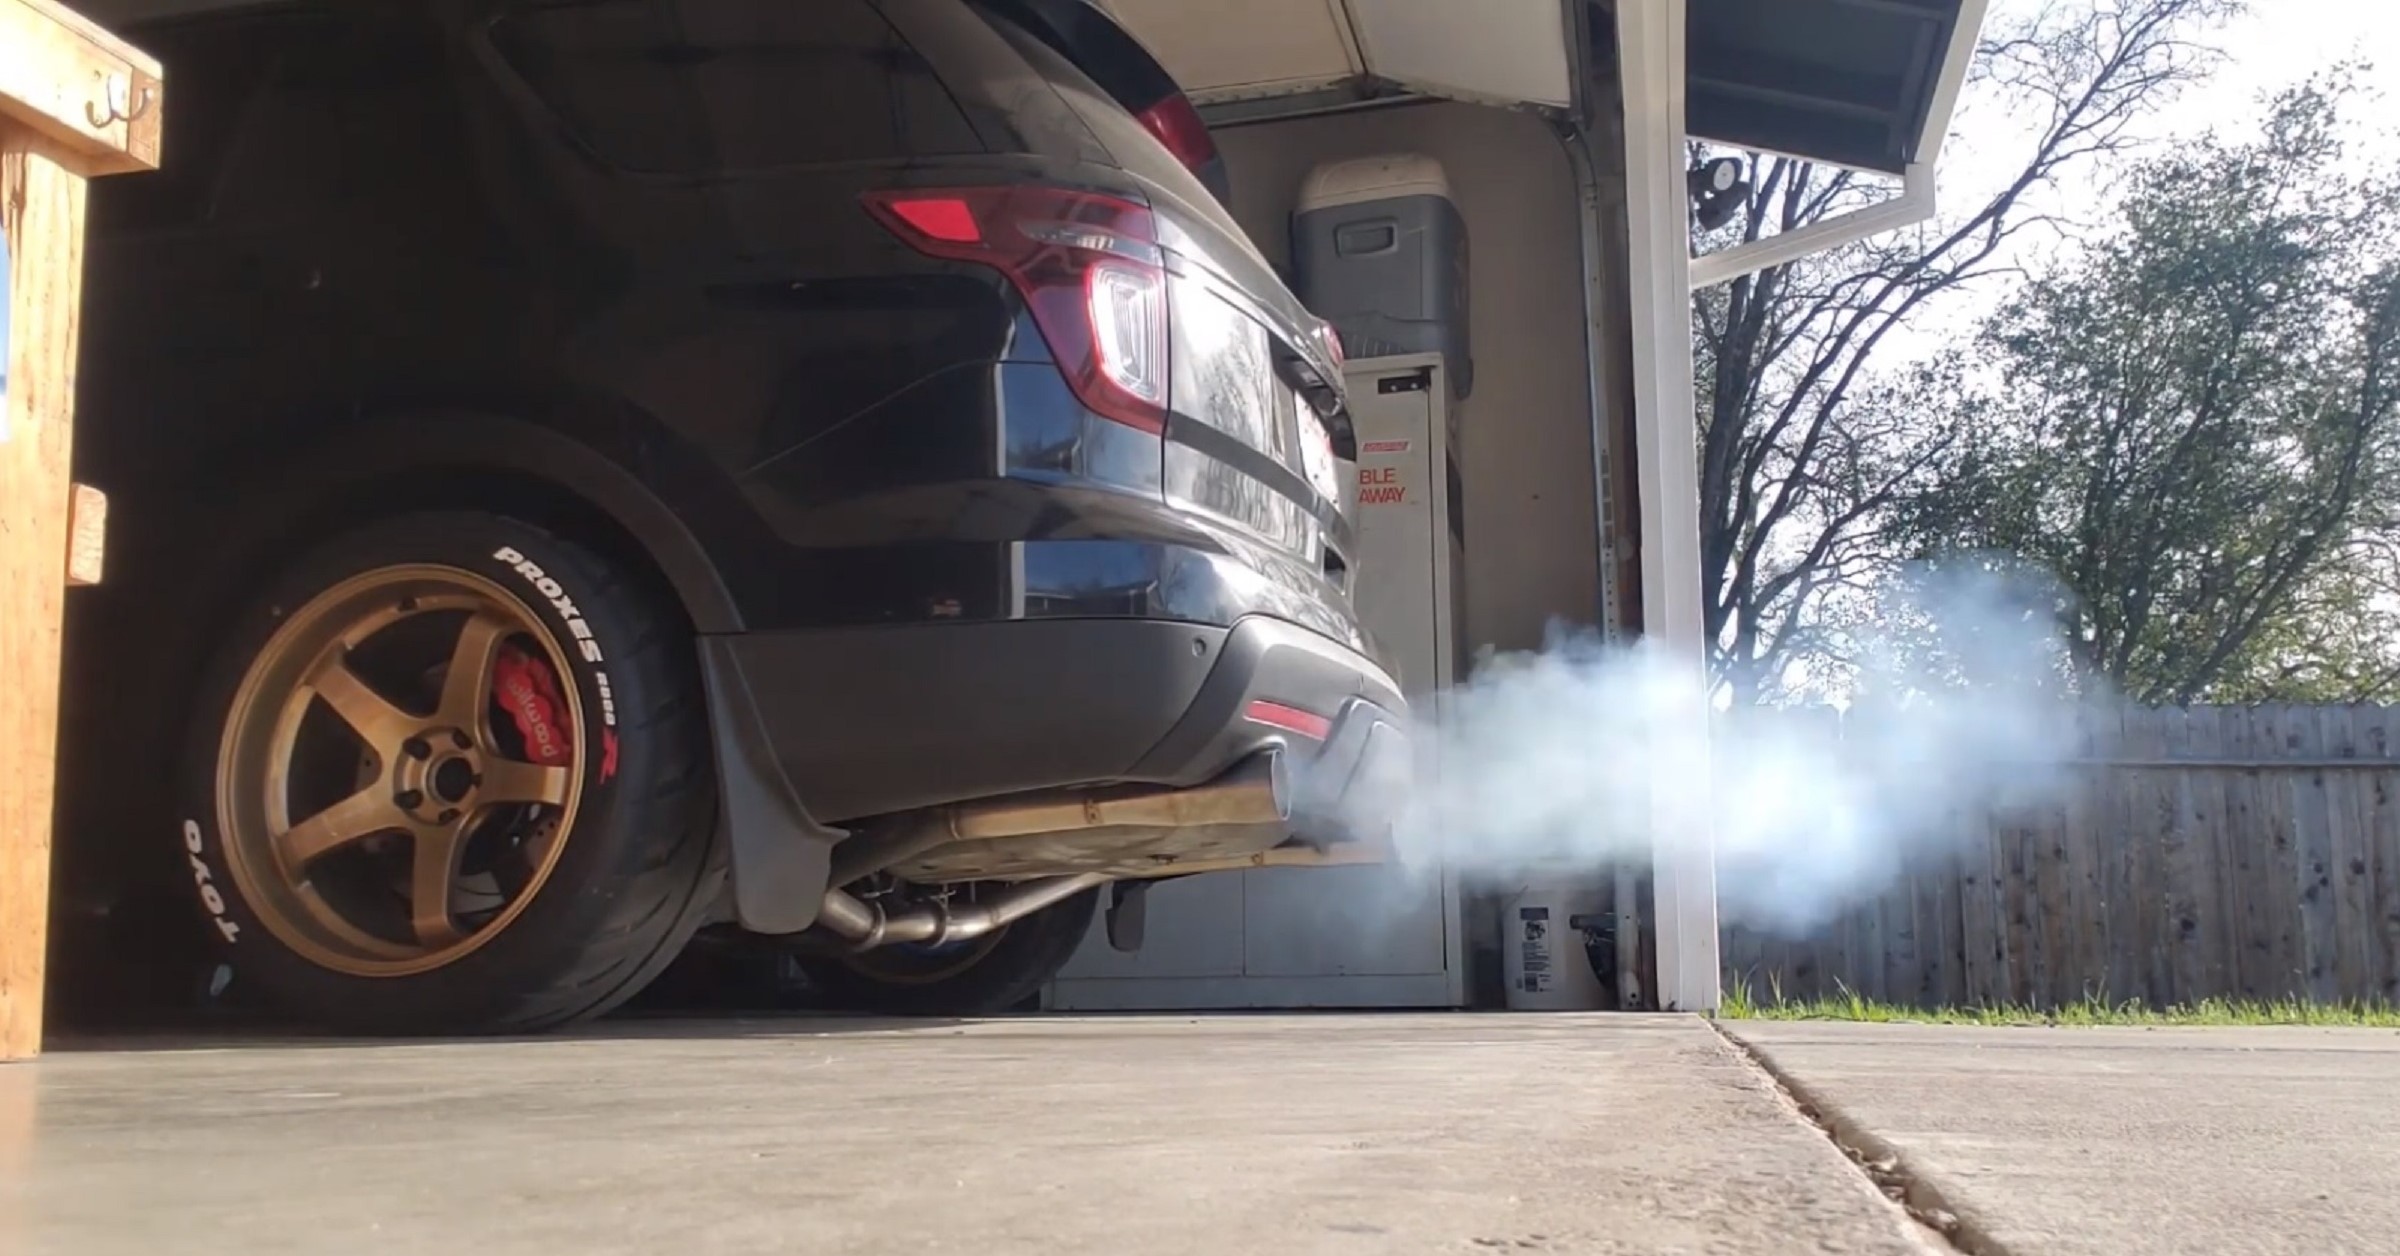
Anyway, I FINALLY got my methanol kit installation completed and was about to take it out on some sea trials. As soon as I got on the road, the car started smoking. Not too bad at first, but bad enough where I decided against using the meth, so I turned it off before I could really get into it.
February 26th, 2021…and it begins…
Something must’ve “broke” within my last few test sessions as this is a new issue. It wasn’t too bad at first as it was just hazy coming out the exhaust so I decided I wanted some lunch and went through a drive through. Bad idea, LOL. As I was sitting there idling, it started smoking out the place and I felt bad because by the time it was getting real bad, I was trapped in the drive-thru, HAHA.
As I was going back home, I realized it was also especially bad when letting off after getting into boost. It actually clear up a bit while in boost though, so…I got a few things to think about what’s causing it.
I feel no loss of power, no strange idling or audible difference. And no knock in the logs, either.
Anyway, I’ve been through a few different opinions of what it might be, in order of pain-in-the-ass-ness:
- PCV/Catch Can setup (crankcase pressure issue).
- Turbo seals failed.
- Piston ring/valve seal failure.
- Possibly lifted a head in high boost.
Currently, thinking it’s an engine issue (piston ring, etc.) as it looks like serious blow-by. But here are the symptoms :
- Emptied catch can, was only about 1/4 full.
- Checked catch cans check valves (UPR kit), they are functioning properly. PCV valve is new. Also tested with old one, same issues.
- Checked catch can routing, properly routed. Keep in mind I’ve had this arrangement for over a year with no changes made.
- Pulled downpipes off, tons of oil on the exhaust/turbine side of both turbos.
- Spotless and clean on compressor side of both turbos.
- No oil in turbo outlet tubes into CAC.
- There is quite a bit of oil right in front of the TB plate and into the intake manifold. Weird that its dry before the CAC but drenched afterwards.
- Pulled spark plugs on front bank (4,5,6) and spark plug wells are bone dry, but plugs tips themselves on 4 and 5 are drenched in oil. 6 is only a bit wet.
- Still need to pull plugs from rear bank.
- Still need to perform compression and leak down test.
- Checked all turbo drain tubes for obstructions, but found none.
- No oil in coolant.
- No coolant in oil.
- Catch can is now filling up QUICK!
I am leaning toward a ring or valve seal failure but would that put oil BEFORE the TB plate? If a turbo seal went bad, would it push oil back into the cylinders? I image it would be wet post-turbo, but not pre-turbo. If I lifted a head and stretched headbolts, I imagine I’d see coolant in the oil or vice versa… I am just trying to gather some opinions over the weekend for me to chew on as I can’t do compression or leak down until next week when I grab my tools.
Well, one thing I did remember to check before tearing it down was pulling the oil cap off and seeing how much vacuum was there and it felt STRONG, like putting your hand on a vacuum cleaner. I thought it was odd, but put it out of my mind. But after contemplating and referring to the F150 forums and got some interesting information that lead me to the catch can possibly introducing a restriction, despite having checked it.
I called UPR to see if they’ve experienced anything like this as I thought maybe my highly modified setup may be introducing issues into their product, but they weren’t much help other than assume I installed their product incorrectly…great.
So, after thinking hard about this and bothered that I didn’t try it before I tore everything apart, decided on putting everything back together and just removing the catch can altogether to see if that is the issue. After thoroughly cleaning everything before going back together, I completely took the catch can out of the loop and ran it. Topped off the oil again and looks like it burned through an entire quart of oil…it took that much to get it topped off again.
Of course, it would burn residual oil off, so I decided to go drive around for awhile and see how it behaved. It really cleared up a lot and at idle there is virtually no vacuum on the oil cap. Looked better, but it never did completely stop being hazy, and there was still lots of oil pooling in the exhaust. I was pretty positive it may have been the fix, but…ugh.
Took it to the track (see that post) to get my run in on a gorgeous weekend here in Northern Cali, but it just never stopped smoking and I am thinking it may be a piston ring or valve stem seal. Looks like I got to finally do those compression and leak down tests…
April 7th, 2021…let’s do some testing…
Decided to do some more in-depth testing to see where this oil mike actually be coming from. I was wondering if I potential had something going on with a piston ring, creating more crankcase pressure, so I did a slightly different test than a leak-down (I still need to accomplish this). I’m verifying how much vacuum I have at idle. Sure the MAP tells me this as well, i just wanted to use an analog gauge to see what may be going on.
So what now? Well, as oil was still burning out the exhaust, it could really only come from 2 places at this point. The turbo, or something is entering the cylinder itself via the intake, which means the PCV system. To isolate which one, I decided to essentially take out the PCV system altogether. By capping allowing the PCV hose from the rear valve cover to connect to the catch-can as usual, but instead of it going back to the intake manifold, just capping off the manifold connection point.
After running the car like this for a while I was still seeing smoke. I pulled the spark plugs to see if they were saturated as before and….
While I had the plugs out, I decided to go ahead and run a compression test on the engine. The procedure is found in the same location as the Intake Manifold Vacuum Test.
And since the highest reading was 205psi, the lowest reading, according to the chart below, shouldn’t be lower than 150psi. The engine is within spec.
What next? Well, I am going down the rabbit hole and by this point, some of you are saying “Why?”
I had a weird feeling the something was going wrong with the PCV system because it seemed to only fill with oil when it was connected, and since I had a successful compression test, I couldn’t figure out where it might be coming from. Since the 2015-up 3.5L EcoBoost went to composite valve covers, the PCV canister was now integrated into the underside of the rear valve cover, instead of being bolted onto it, as in the previous model years. I then performed a destructive test of the rear valve (don’t try this unless you realize you WILL be buying a new rear valve cover) in the vain hope that this was the issue.
After reinstalling a brand new rear valve cover…the car sat…and sat…and sat…until…
December 6th, 2021…let’s GOOOOOOOO!!!!
Well, I finally decided to tackle the problem a bit. The past few months have been hectic to say the least and didn’t have much time to work on the car. I did think about it and what it could be though.
After some contemplation and conversation with Adam Moore, we decided to pull both turbos off and get a definitive answer on if they are the culprit.
After doing some forensic inspection, it looks like the turbo seal left the building. There was literally no evidence of one. A turbo seal is actually 2 or 3 metal rings that are stacked similar to piston ring seals. The groove where they are supposed to sit was completely void of them. Very strange…
ATP was not being helpful here and wanted way too much money, even if they were able to address my issues. They’ve recently stopped selling the transverse ecoboost turbos they offered and they also will not repair any that have developed issues. Citing something about the inability to get parts, but I got the feeling that they don’t actually build these themselves, it’s farmed out to some other shop. So after a lot of contemplation, I reached out to Matt Haynes over at TurboBay Performance, I decided to send him my turbos to be completely rebuilt. I really liked what he was talking about and they do in-house turbo rebuilds…of ANY type or size.
January 18th, 2022…here they are!
Well, Matt was fantastic! Got these back and they look great! They’ve been completely gone through and everything feels like it’s in good shape.
Before I had these shipped off, I had developed an issue with a striped bolt hole. This was on the rear turbo and happened during one of my long nights of assembly/disassembly. I was tightening down the downpipes and turned it too much. Luckily it never leaked but after disassembling them to be shipped off, there’s no way it would ever seal up again.
So how do I fix it?
Uh oh…fixing a striped bolt hole in the turbo…
This has been extracted as it’s own blog post as well…
I always felt the flange was thin in this location, so it is the most prone to damage. The metal is also relatively soft, so it doesn’t take much effort to stripe them out. In order to prevent this from happening in the future to any of the others, I decided to repair/upgrade them all. FYI, these threads need to be metric M10x1.5.
So I went and ordered some helical inserts. But not any old kind…I needed some that could withstand the high heat of the turbine housing. These are metric nickel helical inserts that can withstand up to 1000degF.
Along with the insert, the special helical tap is required. It is offered in a standard chamfer type or a bottoming chamfer type. I opted for the bottoming chamfer type as it would be of use in a blind hole in the future if needed.
You’re going to have to start out with a 13/32″ (or a 10.5mm) drill bit to clear out the space needed to rethread the helical insert.
After drilling out the hole and tapping it using the helical tap, the part where you install the insert comes next. This would appear to be the easiest part, but turns out it wasn’t. I didn’t have the insert tool and didn’t think I needed it. I was just using some needle nose pliers on the bottom prong of the insert to spin it. It would only go in about halfway before snapping the prong off. I went through about 3 inserts this was. The prong is designed to be removed once installation of the insert is completed, but it was breaking off way to soon. So instead of buying the actual tool…I made my own.
It’s just an M10x1.5 bolt that I ground a “hook” mechanism into in order to “catch” the prong properly, as it was intended.
The tool worked like a charm and only took me a few minutes to make and cost me exactly $0.00! Lastly, the prong could then be broken off. I simply used a punch to accomplish that, though there is a tool for that too.
Problem not quite solved…
Well, I wish I could say this story had a happy ending, but it didn’t. Though the turbos definitely needed the love and attention, the truth is…the burning oil, though significantly reduced, didn’t go away 100%…to my dismay.
After running it and noticing the oil burning didn’t go away completely, I pulled the spark plugs to start there again. I noticed a bit of carbon buildup on the electrode. And, the plugs were wet with oil again, which means oil was being pulled into the cylinder from somewhere.
This is when I understood that I may still have some piston ring damage. Where the vacuum was leaking into the crankcase and pulling oil through the PCV, into the catch-can, and back into the intake tract and finally making it’s way into the cylinder.
I decided to simply remove the PCV system from the equation. I understand the rings need replacing, but I have an engine on a stand, ready to be installed. I will simply run the current engine until I get around to installing the new engine.
I didn’t completely remove the catch-can from the system, simply removed the vacuum from the intake manifold. In order to accomplish this, I need to purchase a few parts.
I capped off the intake manifold PCV port and left the catch can output that normally routes to the intake manifold PCV port open to atmosphere. It may still catch some of the oil, but at least it was circulating back into the engine.
After doing all this, I’ve effectively reduced the oil consumption to almost nothing. It still doesn’t really solve the problem I have, but it’s more of a band-aid on the symptom, rather cure the disease.
I’ll solve this problem another day! Once the new engine is in, I’ll do a complete forensic teardown of this one to see exactly where the issue was.
Problem solved…for now.