Overview
Why would we do this? Well, it’s really just to make life a tiny bit easier for you while conducting maintenance on the platfrom. The PTU is a known weak link and changing the fluid AS-IS (depending on what iteration of PTU you have…see this post) can be a PITA.
It’s important to use a center punch (or nail) to mark the location of where you want the holes drilled. This will aid in keeping the drill bit from “walking” as you start the hole. “Measure twice, cut once” is the motto here. You will be tapping a 1/8-27 NPT fitting. The drill bit used is technically called a size “Q”, but those are hard to find outside of a store that specializes in machine shop equipment. The closest fractional drill bit size is a 21/64″, which can be found in many hardware stores and will work great. If you are so inclined, you can drill small holes incrementally larger until you get to that size if you want to be extra careful, but you should be fine if you went straight to it.
PTU
The location of the drain is crucial. It doesn’t have to be 100% measured, but as long as it’s in the vicinity of where the arrow is, you will be fine.
Here is a photo of an open PTU to illustrate where you want to drill the hole and why. The area is circled and is placed there to avoid the gears inside the case. It is also a very thick portion of the case.
When drilling, you will want to place a large (1-gallon freezer bag) plastic bag over the drill and your hand with the drill bit poking through. This will serve to keep your hand and drill from becoming drenched with oil the instant you punch through the case.
…and keep that drip pan right underneath…
Below is probably one of the better videos that was made showcasing the technique used to drill into the PTU while it is still in the vehicle. Much respect to Lincillac Garage for the video.
Here is the final installation, just need the heat shrink tubing installed and it’s good to go.
RDU
This is one of those instances were we are just trying to make our life a bit easier. Sure, it isn’t hard to do this the old fashioned way…remove the differential cover, drain, replace cover, than fill through the port on the differential cover.
Well, this is a bit easier. The initial investment of your time is high, but once completed, your fluid changes will be much easier.
In order to facilitate this, you’re going to want to remove that extra, unused exhaust hanger that sits in front of the differential cover. It’s a PITA and simply in the way to be able to do anything. How you go about doing this is up to you, but I used a sawz-all. That kept the blade close to the frame for a removal that was very smooth when completed.
With that out of the way, you can move onto the plug installation.
Smooth the location of the plug. Using an angle grinder with flap-wheel works best here.
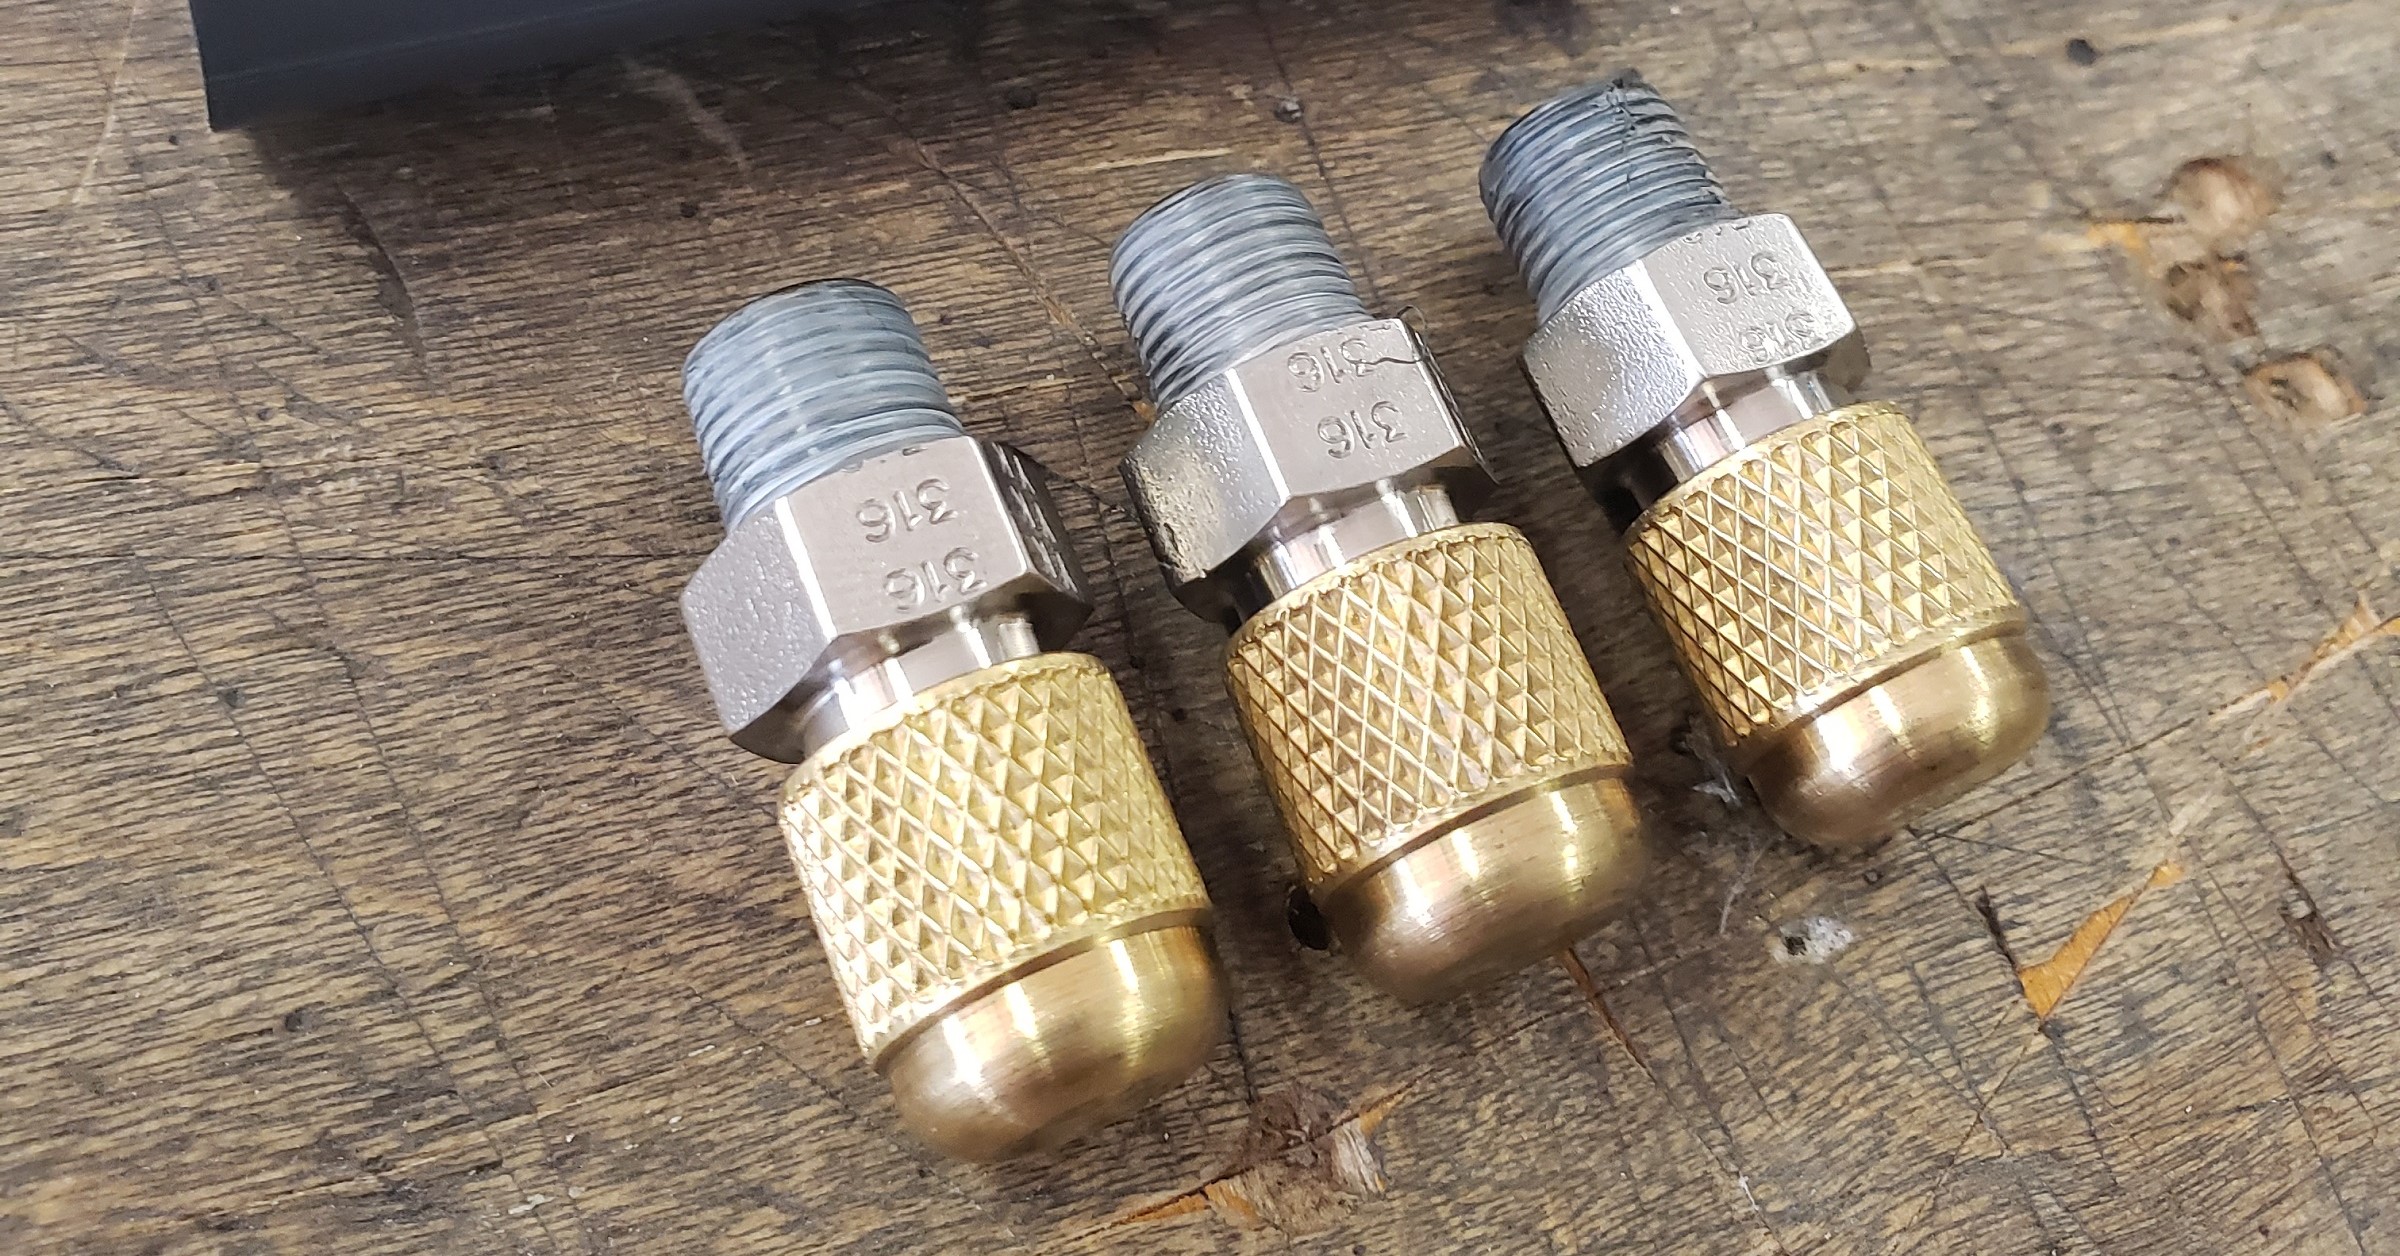
Cap is very tight with an o-ring seal, but for extra protection, the adhesive heat shrink is used to keep it from spinning off over time. Place trimmed piece of provided heat shrink over the fitting. Ensure it is covering the knurled part of the cap and extends onto the hex-face of the fitting. Using something like a long screwdriver may aid in holding it in place while using a heat gun to avoid burning your hand while the tubing shrinks. Simply cut with a razor and peel off when time to do the service:
Since you no longer have to remove the differential cover to drain, filling is now done through the same hole but with the unused hanger out of the way, you can use the hole in the frame to go through and fill into the differential cover hole.
Transmission
The transmission already has a 1/8 NPT fitting, so simply remove and replace at your next fluid change. Use the lower plug, the plug that is up higher is a test port for the factory.