Here’s another quick write-up. Most of the information is in the video, but I wanted to add a bit to it, since the video can be abrupt in some cases. Was trying to keep the video as short as possible.
Anyway, it’s pretty well documented that, at higher HP levels, the low pressure fuel pump (LPFP), or in-tank pump, is a weak point. Pressures begin to dive pretty low, especially when running straight e85. Check out this blog post as I am using a boost-a-pump to band aid the problem for the time being. The system in this platform is happy around 80-100psi on the low pressure side. This is a bit higher than the standard 30-40psi seen on traditional fuel systems. This being direct injection, requires some higher numbers on the low side to feed the engine mounted injection pump.
So, to that end, I recently revisited a project on the LPFP and how to upgrade it further than the Deatschwerks DW300c. Some of you know I’ve been working on a dual pump setup, and it’s moving along fine. I’m almost finished with the controlling part of it (the bucket is complete and fitment is 100%). Once that is nailed down, it will be a viable solution.
However, I recently became reinvigorated by @802SHO to revisit an attempt that I made over a year ago and had given up on, likely too early. Full disclosure, I can’t take all the credit for this one. 802SHO gets the kudos here for giving me a new way to look at the problem.
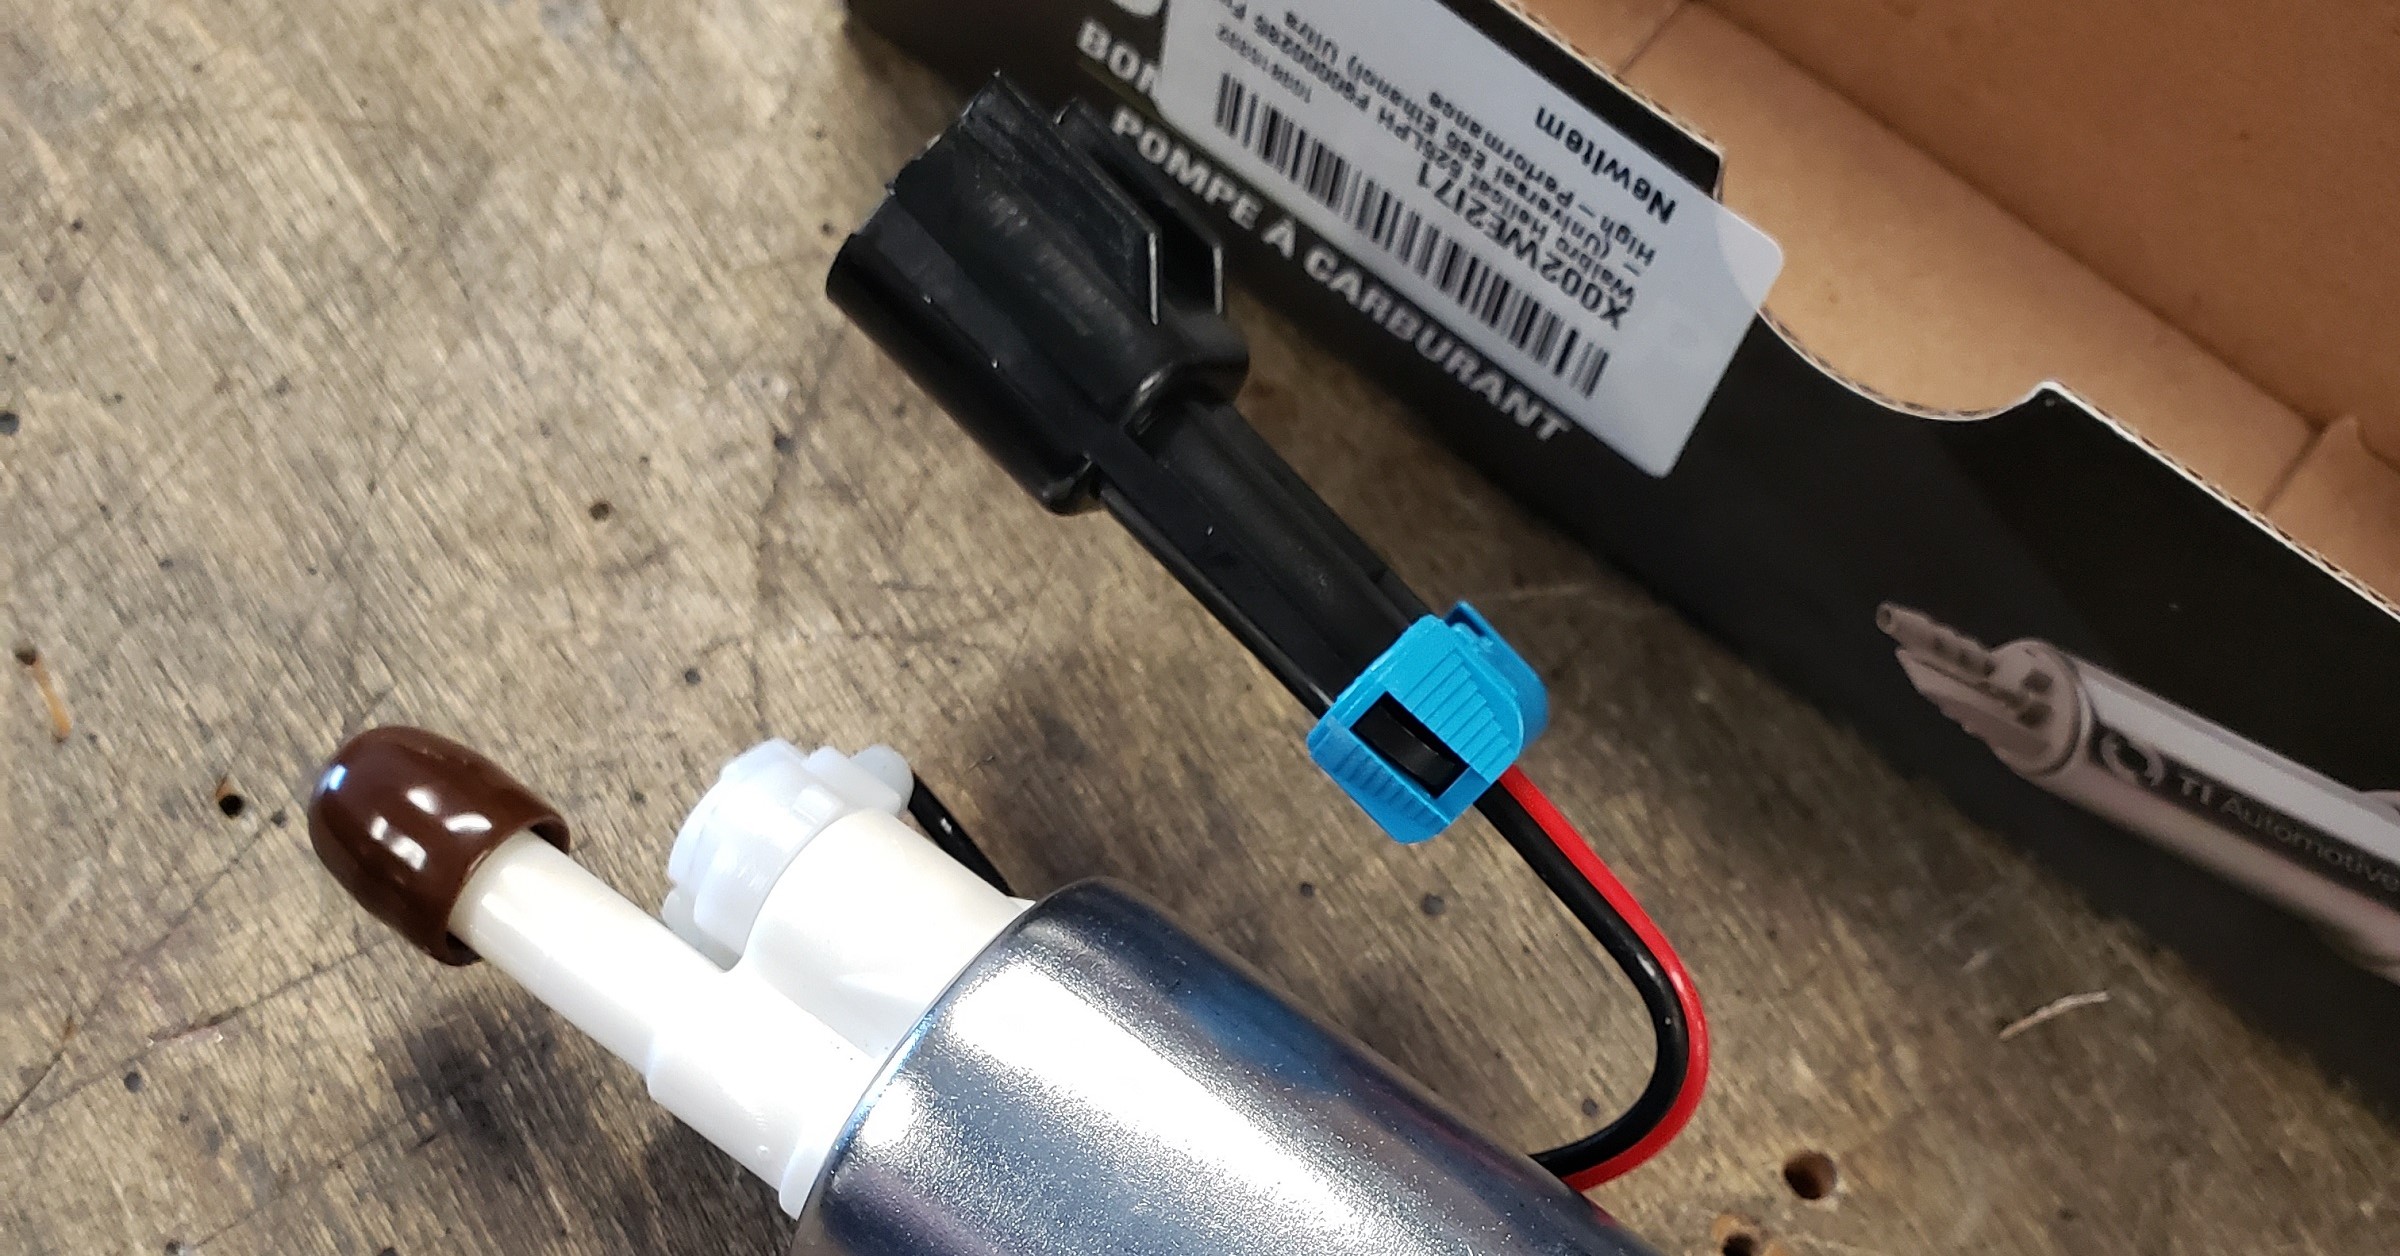
So what is it? Well, a Walbro 525 fit test…yes…a Hellcat pump fits! FYI, it may help to follow some of the steps I outlined in the DW300c process as it shares some of the steps.
I purchased it from Amazon and it came in a few days. Not a bad price for such a powerful pump, tbh.
It needs testing and there are a few small concerns regarding flow at the higher pressures this platform sees (the 525 is very strong at lower pressures, but starts to hit a wall higher up) as well as what may happen since we aren’t bypassing more fuel with the larger pump, which MAY cause jet pump and erratic idle issues. These are issues that may be able to be addressed (mechanically or via tuning) but it’s too early to say. Testing to ensue here shortly!
One of the tools you saw me use for my Dremel is this side-cutter. It came in very handy and was precise enough to make the small cuts needed, following it up with a small jeweler’s file and razor.
As for the other tools to make this easier? Here you see a few of them. Some silicon powdercoat plugs work great to cover up any holes to keep debris from getting into the pump. And you can trim them to be flush if needed, very, easily. Some thick card stock is great to keep any sort of file you are using separated from parts you don’t want scuffed (like the sock filter). Also pictured is a 40mm Hole Saw with a 3/8″ Arbor that is used without the center drill bit. If you notice, the hole saw id smooth metallic. When it comes new, it has a layer of powdercoat that is just thick enough not to let it insert into the fuel pump cavity. All I did was place this hole saw/arbor assembly into a drill press (A regular drill will work as well) and took a file, sand paper, flap wheel to the body of the hole saw as it was spinning in order to achieve the powder coat removal as well as grind down the small raised portion found at the base of the hole saw. The teeth of the saw also “kick out” a bit so that was machined down as well. Essentially you want the body of this hole saw to be a true 40mm throughout. Lastly, you see a custom cutting tool I made out of a spacer.
I simply ground 2 cutting portions using my Dremel cut-off wheel. This tool is used by hand to slowly grind down the portion around the output of the fuel pump without damaging the spout.
As for parts, there are a few different ways you can go about doing this. You can simply re-use your fuel bucket and just buy a Hellcat pump (the Walbro 525 is the same physical dimensions as the Walbro 450, btw). and that would be ultra inexpensive. Even cheaper than a DW300c. I, personally, would opt for at least a new fuel bucket, however. It ensures everything going in is new and in good working order. Now depending on which platform you are using, the fuel modules are slightly different. If you’re working on a 2013-up vehicle, however….it may be smart to simply buy yourself the module out of an Explorer Sport as they are the least expensive, and if you have an SHO…just remove the fuel level sending switch from your old one and install it onto the new one. I discovered that during my most recent Hellcat pump install and wrote about it here.
In the video, you will notice I used a “spacer” of sorts and showed the part number in it, but here is the direct link to it.
- Chemical-Resistant Viton Fluoroelastomer O-Ring, PN: 1170N106, Qty: 1
You’ll also need some new pins for the connector. I really despise butt-connectors so please don’t go that route if you can help it. Get yourself the right tools and proper terminals, it will be worth it in the end. Butt connectors can sometimes come loose or make poor connectivity. You can source a new connector if needed, but it’s just as easy to de-pin the old one and re-use it.
And you’ll need the following terminals/splices to complete the wiring portion:
Anyway, I’ll let the video do the explaining on how to accomplish this installation. If there are any questions, feel free to hit me up on Facebook as it is the easiest way to get to me.
And for those of you that are apprehensive on tackling this project on yourself…I may be willing to do this for you for a “nominal” fee. Haven’t figured out what that might be yet though as it is labor intensive with small details to pay attention to.
As for my other project, the dual pump setup may still be a better route to go, but it’s hard to deny the price point of a Hellcat pump and some fuel bucket modification (it’s deceiving…there’s a lot more involved, but achievable).
Here to give the community options!!!